NuGet is the package manager of the. NET world, we can both use official website nuget.org, or build our own corporate and private servers. Now, with . NET Core, it's easier than ever to pack and upload a NuGet package, let's take a look!
NuGet Account
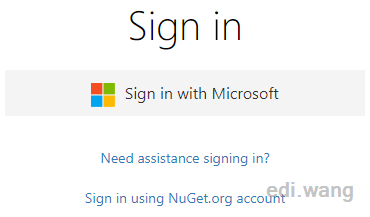
If you want your package to be used by every .NET developers in the world, then you need to have a nuget.org account to upload your own package. Nuget.org can log in directly with Microsoft account.
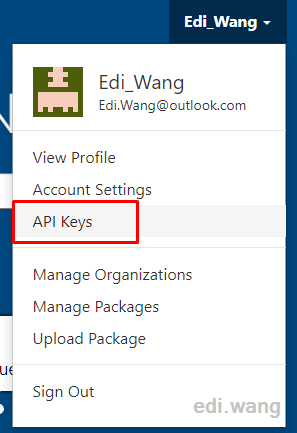
After logging in, it is recommended that you get a set of API Key. Although this Key is not required in the scope of this article, but if you later want to publish the NuGet package through the NuGet CLI or automation tools, such as Azure DevOps, you will need it.
Create NuGet Package in Visual Studio 2019
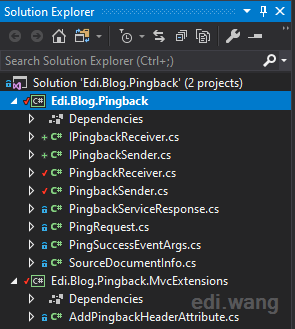
Take one of my class library Edi.Blog.Pingback as an example, after the development is complete, right-click on the project file and open the Properties dialog.
On the Package tab, select Generate NuGet package on builds.
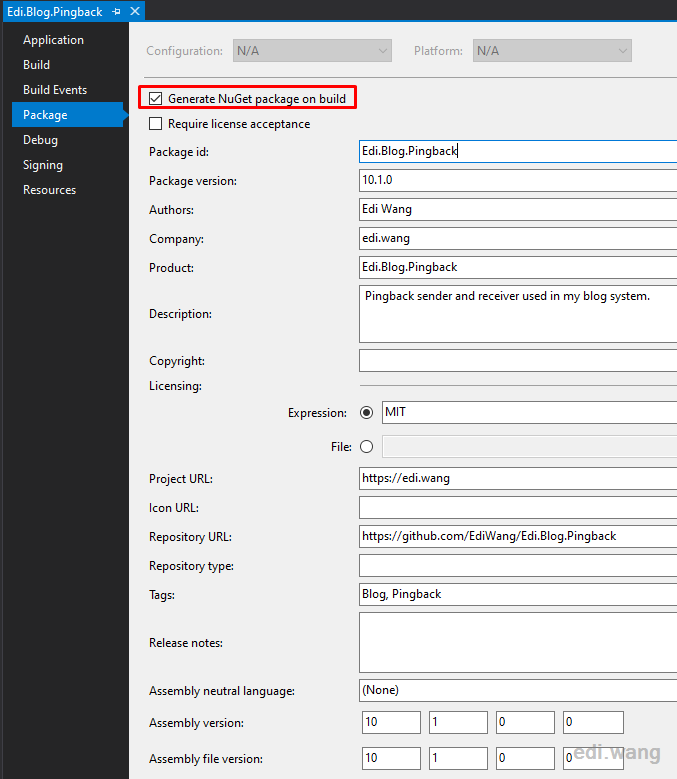
And fill in some necessary information. The Package ID is the most important, that is, the ID used when the end user installs your NuGet package. It's not the same as Product. An example is Json.NET, whose Package ID is Newtonsoft.Json, not Json.NET. In general, in order to avoid confusion, I recommend that you keep the Package ID and Product name consistent.
The second is the version number, and Package version is the version that will eventually appear on the Nuget.org page, as well as the version used to specify the installation version through the NuGet CLI. In order to avoid confusion, it is also recommended to be consistent with Assembly/File version.
Additional information can be filled in as needed, the more detailed the better. For example, my package was open source with the MIT protocol in GitHub, and I can fill out the repository address (Repository URL), as well as the Licensing. Even if it is not an open source package, we are advised to fill out the licensing. Otherwise, there will bea a warning after the package is uploaded to nuget.org.
In fact, these operations on the VS interface are ultimately reflected in the project file (Edi.Blog.Pingback.csproj), that is, if you are a VSCode guy, you can also manually edit the project files to complete this series of settings.
<PropertyGroup>
<TargetFramework>netcoreapp2.2</TargetFramework>
<GeneratePackageOnBuild>true</GeneratePackageOnBuild>
<Authors>Edi Wang</Authors>
<Company>edi.wang</Company>
<Description>Pingback sender and receiver used in my blog system.</Description>
<RepositoryUrl>https://github.com/EdiWang/Edi.Blog.Pingback</RepositoryUrl>
<PackageProjectUrl>https://edi.wang</PackageProjectUrl>
<AssemblyVersion>10.1.0.0</AssemblyVersion>
<FileVersion>10.1.0.0</FileVersion>
<Version>10.1.0</Version>
<PackageTags>Blog, Pingback</PackageTags>
<PackageLicenseExpression>MIT</PackageLicenseExpression>
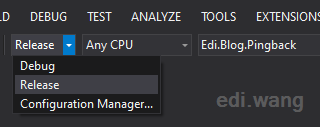
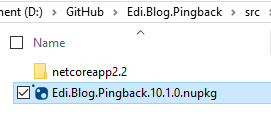
</PropertyGroup>Next, switch to Release mode to compile your code. You will get a generated nupkg package under the bin\release folder. Release mode is used because the production environment should be used and the end user is expected to use the compiler-optimized DLL.
Upload to nuget.org
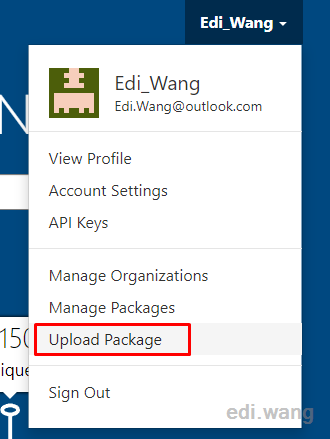
The easiest way is to upload it through a Web page. Under buget.org's user menu, select Upload Package.
Then, drag and drop the nupkg file we just created to the upload box to finish upload.
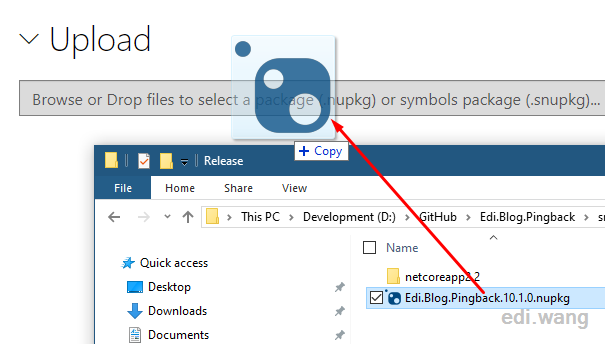
After confirming that all the information is correct, click the Submit button at the bottom of the page.
Next, you'll see the status of the validation. It will be in Validating status, then it will become Listed after it is passed. It's usually 5 minutes.
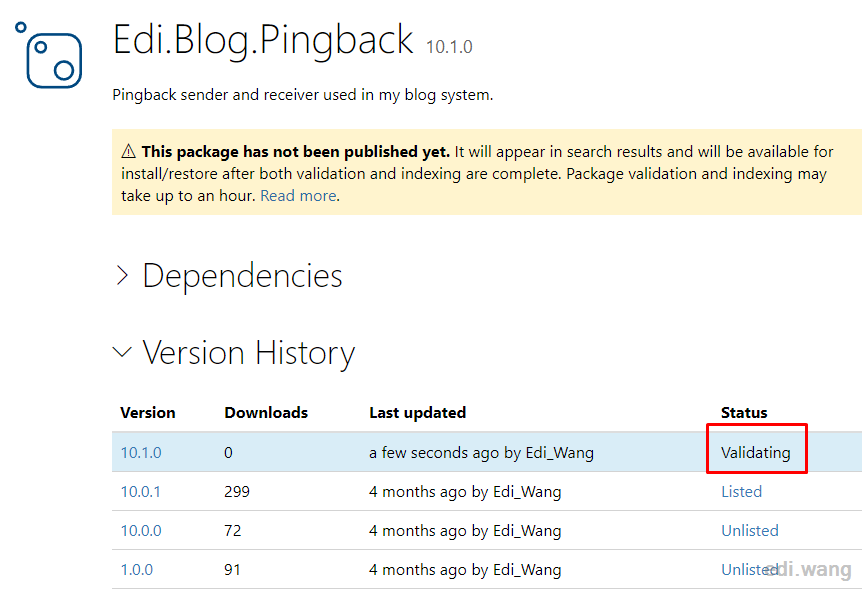
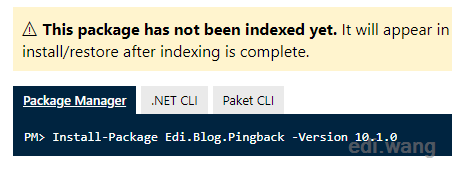
However, after Listed, there will still be a warning, meaning that the server's index has not been completed, the user can not search the version of the package. But you can specify a specific version number to install through the NuGet CLI or edit the project file to install the package as well.
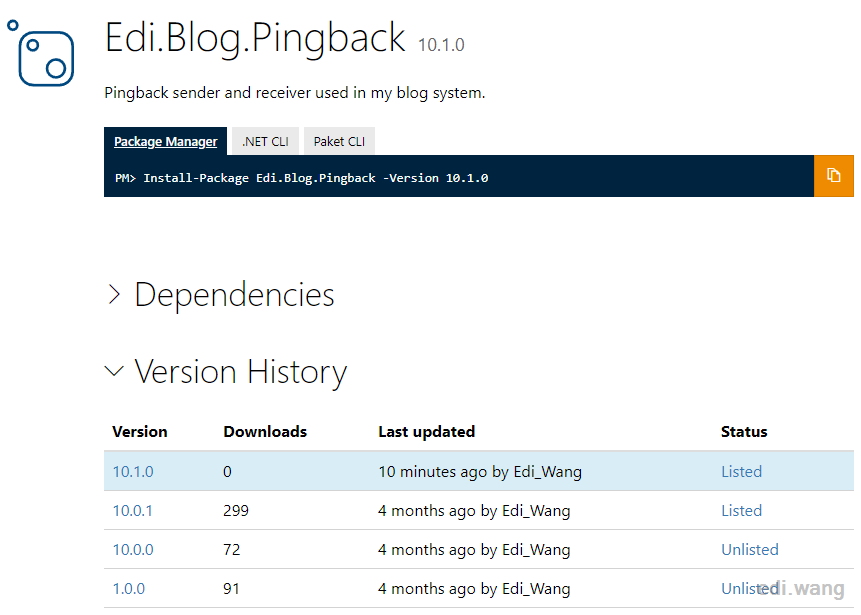
When the warning disappears, your package will all ready!
Other Recommended Tools
NuGet CLI: https://www.nuget.org/downloads
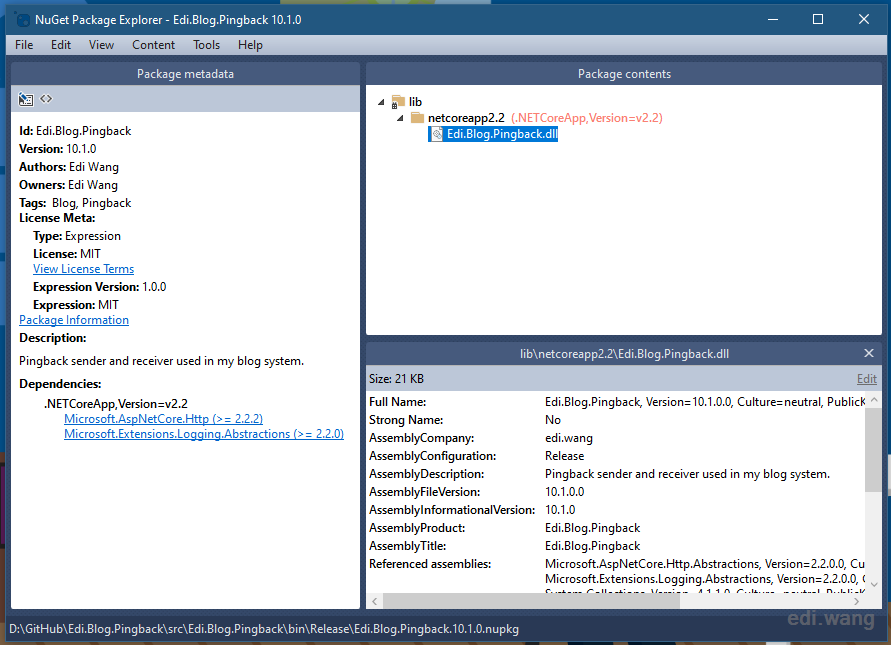
NuGet Package Explorer: https://www.microsoft.com/store/productId/9WZDNCRDMDM3
Anduin
Hi @Edi Wang, I found a better solution which was more 清真。 Try to execute the following command on the root folder of your project:
And you will find the built package here.
Upload it here.
![Untitled](https://user-images.githubusercontent.com/19531547/56706150-e5ade680-674e-11e9-9503-1e84714cd790.png
lindexi
Good. And Using SourceYard can pack the source code.
Rohit Vaidya
If we want to upload nuGet pck of our project on our organisation package source then how it will be different from the uploading it on nuGet org?
Steve C
Thank you for posting this Edi! It was exactly the information I was looking for, and the first page I opened after Googling for it. Keep up the good work!