In the recent Windows 10 v1709 Fall Creators Update, the Windows subsystem for Linux has been improved a lot. Let's see how easy it is now to install Linux on Windows.
1. Enable Windows Subsystem for Linux
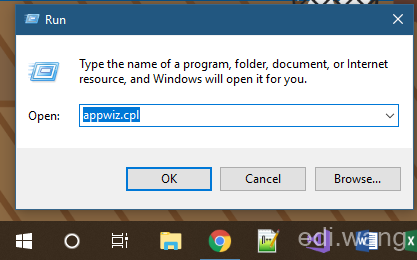
Because the classic control panel has been hidden, now the quickest way to access Programs and Features is to run appwiz.cpl
And then check "Windows Subsystem for Linux" under "Turn Windows features on or off".
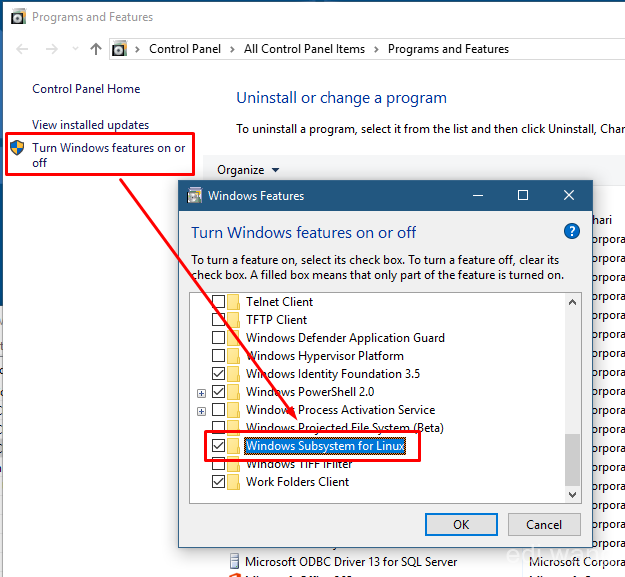
Reboot your machine after this change.
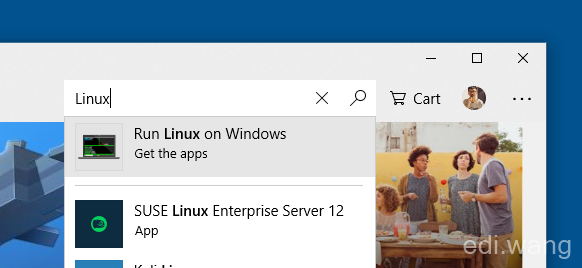
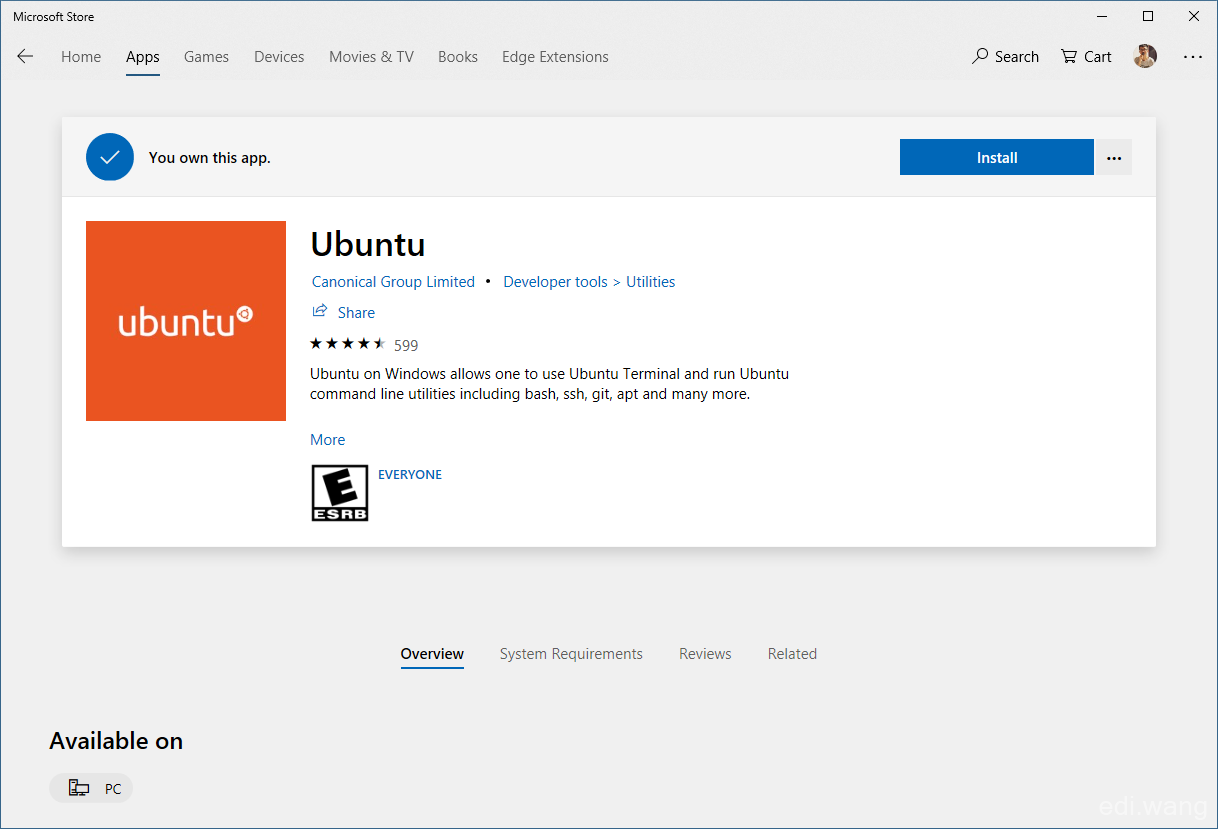
2. Search for Linux releases in Microsoft Store
Currently, there are 3 types of Linux systems you can choose in the store. Ubuntu and the other 2 versions of openSUSE. I would prefer Ubuntu.
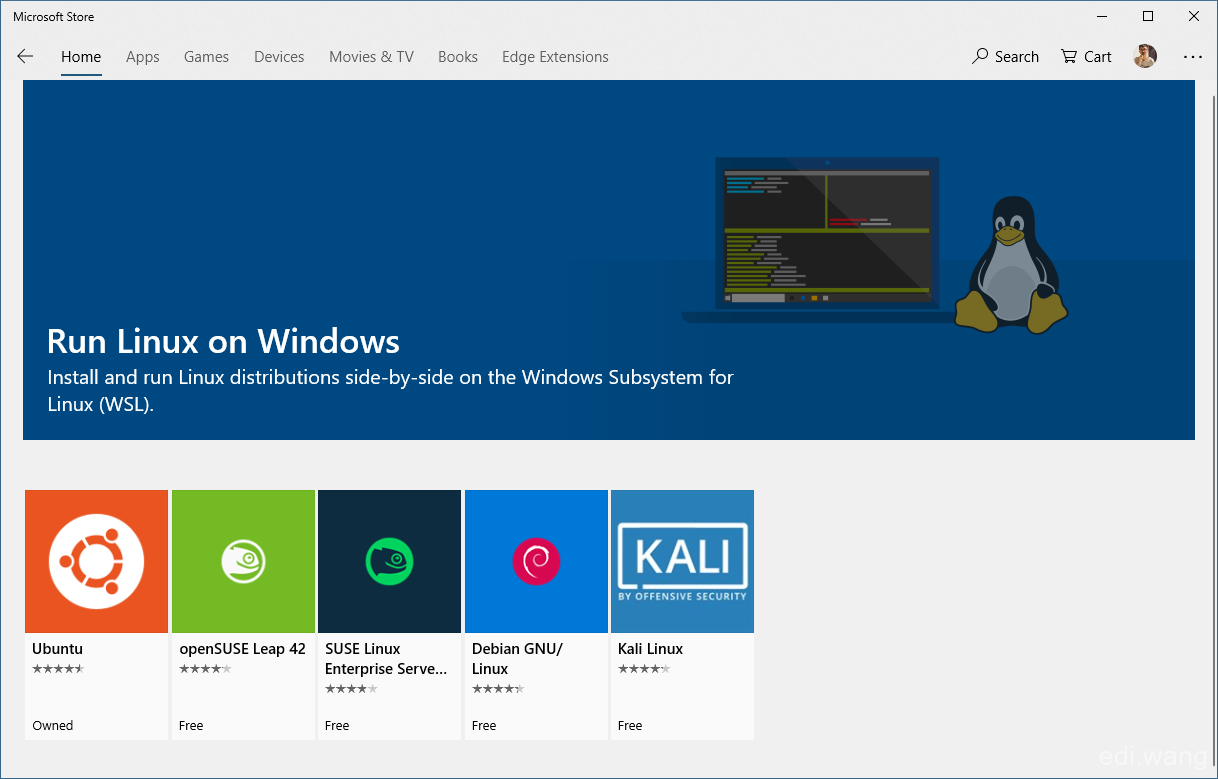
Install Ubuntu in the same way as an usual App. It will take some time, it's an OS after all.
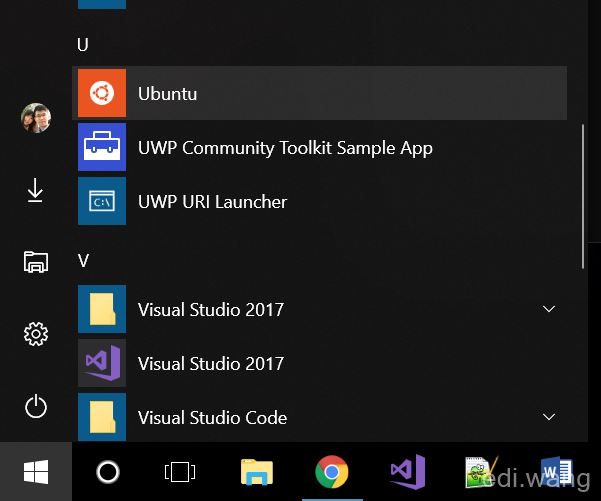
3. Start and Use Ubuntu
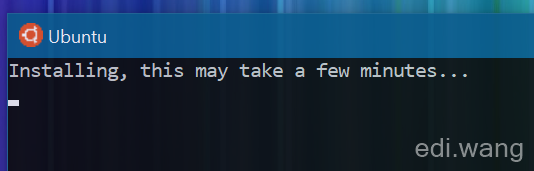
When the installation finish, Ubuntu will appear on the Windows Start Menu, click to start.
The first time Ubuntu boots up, it can take some while.
And then set a pair of Linux username and password. Then you are good to go!
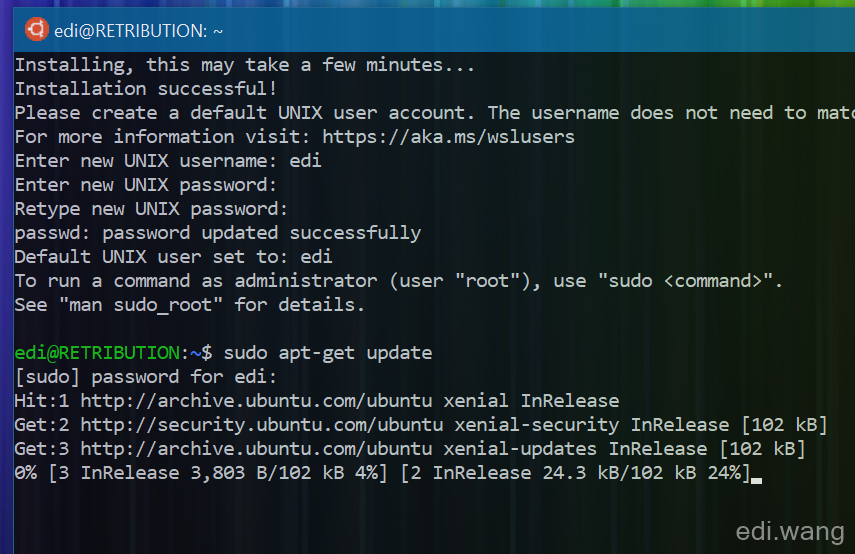
You can use command line tools on this Ubuntu system. Even install .NET Core and start an ASP.NET Core website, and then access the website by a browser on your hosting Windows system:
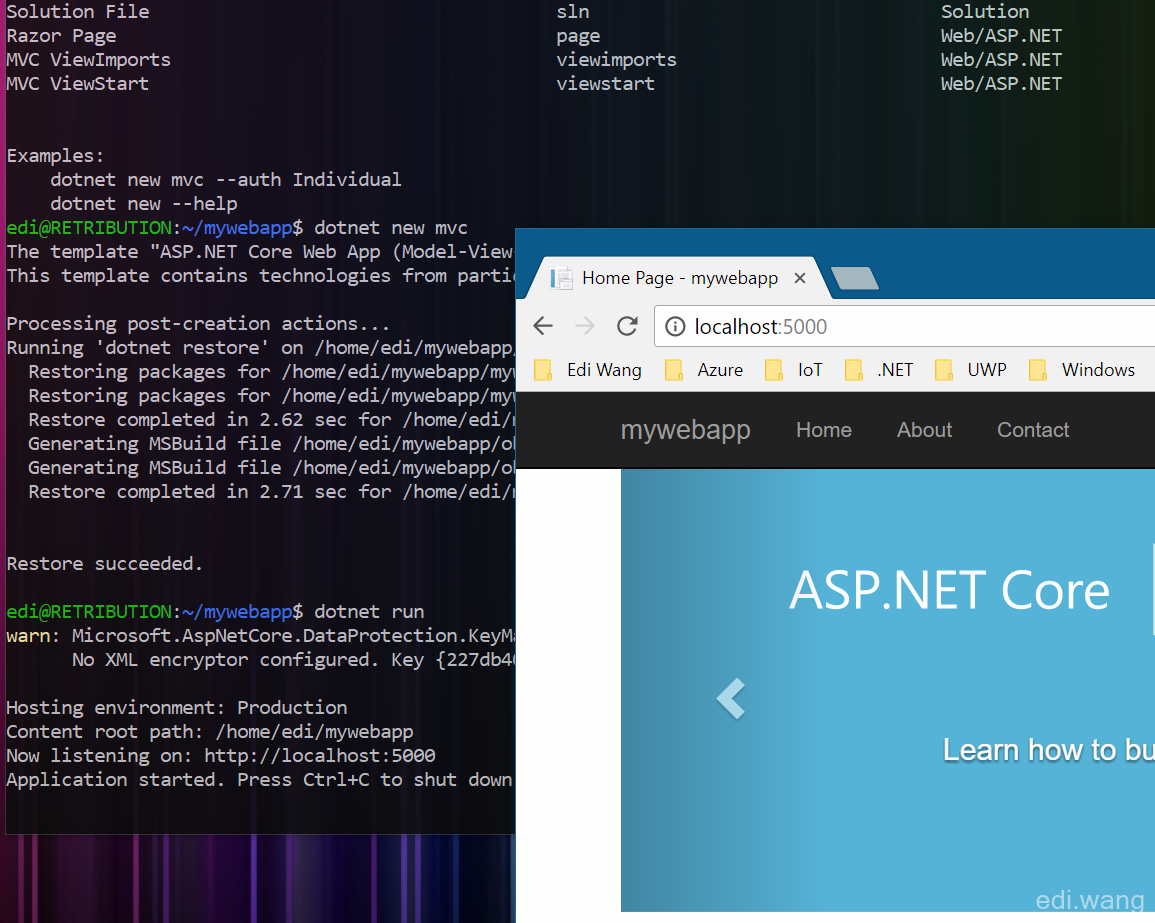
Refer to https://www.microsoft.com/net/download/linux-package-manager/ubuntu18-04/sdk-current for detailed steps.
hi,I am learning but still very new. I cannot type the password as the keyboard will not function although the enter key does.I cannot find any useful solutions via search engines.Please help.Thanks
learnt