Microsoft Azure provides App Service that is fully managed to enable you to run websites. However, in some cases, you may still need an IaaS solution like a VM to host your website. This article will show you how to run an ASP.NET Core 2.2 web application on a Windows Server 2019 Datacenter Server Core virtual machine hosted in Azure.
About Windows Server Core
Windows was designed as an operating system with a GUI, even on its server SKUs, until Windows Server 2008, Microsoft ships a "Server Core" version of Windows that strip off most of the GUI components like Windows Explorer, Taskbar, Control Panels. Comparing to the full desktop experience, Server Core has certain advantages, as Microsoft explains:
"The Server Core installation eliminates any services and other features that are not essential for the support of certain commonly used server roles. For example, a Hyper-V server doesn't need a graphical user interface (GUI), because you can manage virtually all aspects of Hyper-V either from the command line using Windows PowerShell or remotely using the Hyper-V Manager."
You can read more about Windows Server Core on Microsoft Docs.
But you should keep in mind that although Windows Server Core is mostly managed via command lines, it isn't like Linux, there are still GUI components left like Registry Editor which we are going to use in this article. If you want a full command-line version of Windows Server, please check out Nano Server on Container.
Create Windows Server Core VM on Azure
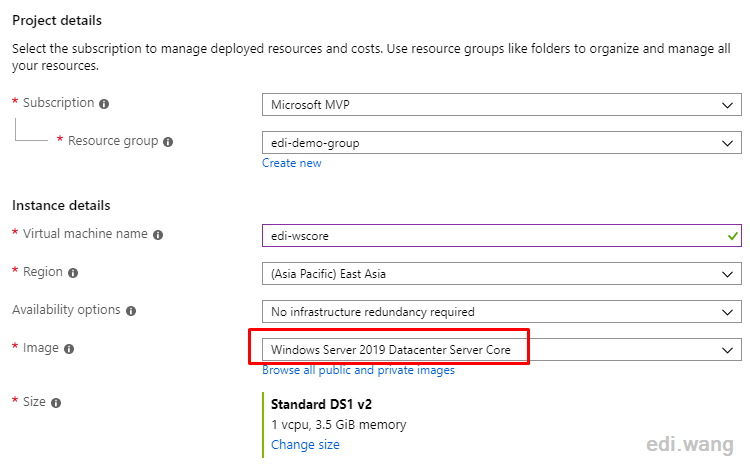
The Server Core images aren't in the drop-down list by default. You need to click "Browse all public and private images" to find the "Windows Server 2019 Datacenter Server Core" image and create your server just like any other Azure VM.
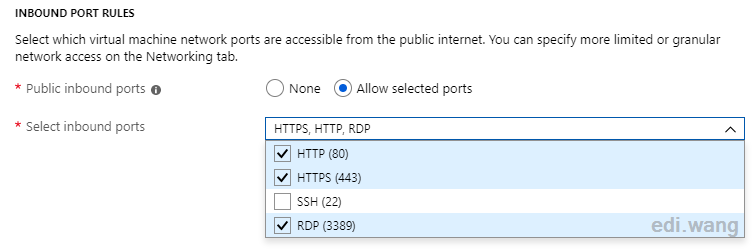
Since we are running an ASP.NET Core website and need to configure it using the RDP, it is recommended that we open the 80,443,3389 port.
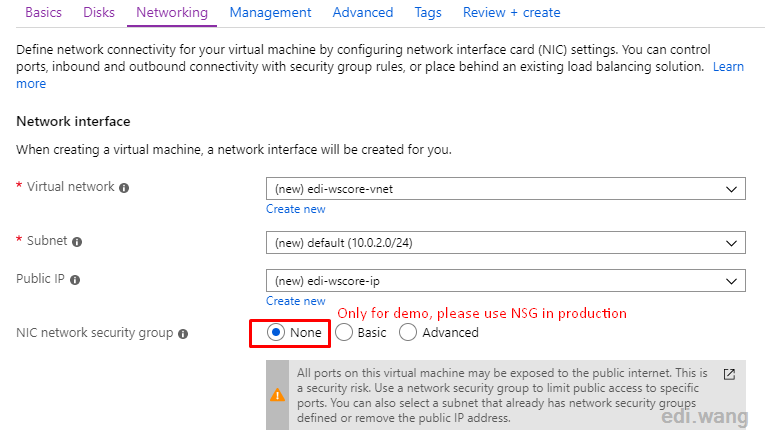
Because of the testing purpose, I chose not to configure the firewall and expose all ports to the public network (and also ignore the previous port settings). In a real-world environment, do not do this.
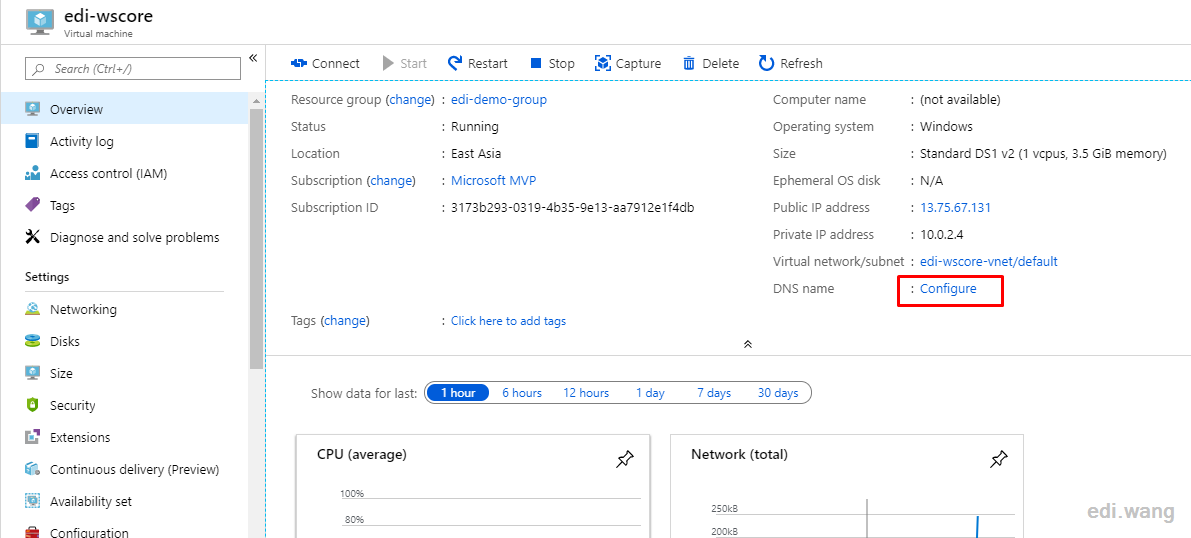
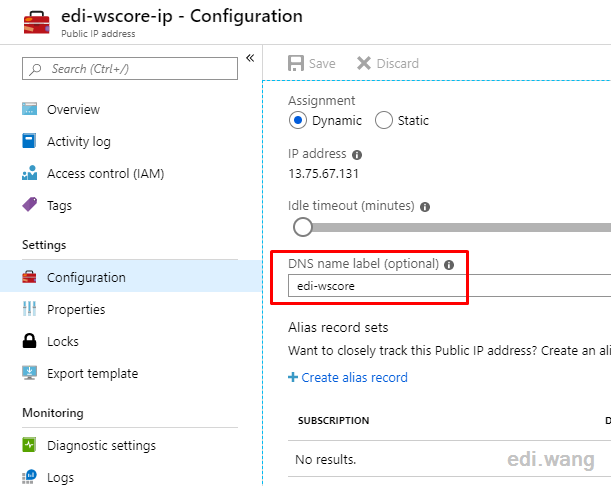
When the server deployment is complete, click on the "Configure" in DNS name to configure a domain name. This is because the default IP address for VMs on Azure is dynamic, so it's best to access it through a domain name to make sure you can find your server at any time.
Assign the DNS name label.
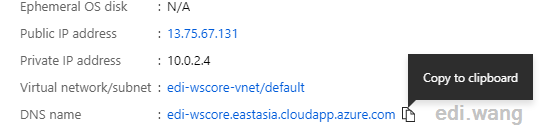
When the configuration is complete, refresh the VM home page to view and copy the domain name used to access the virtual machine.
Sign In to Server Core VM
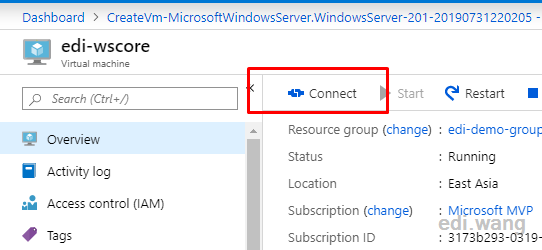
Click "Connect"
Choose "Download RDP File"
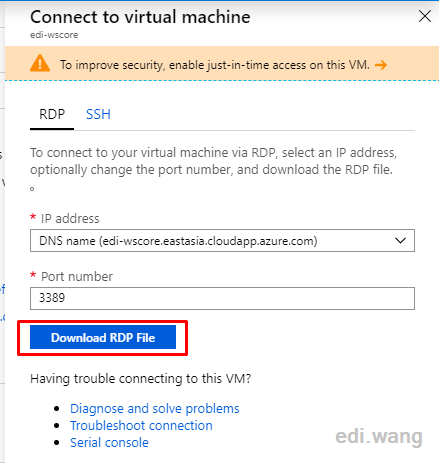
Open the RDP file and you can sign in to the Server Core VM with the account password you set when you created the server.
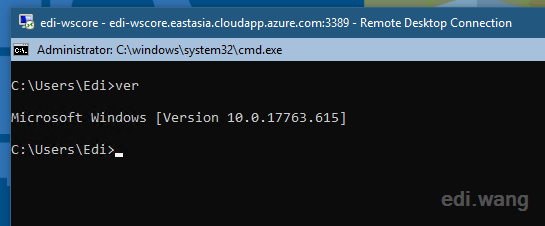
At this point, you'll find that Server Core is not completely removed it's GUI, but rather minimizes the presence of the GUI. The cmd window is still rendered by Windows. The registry editor we're going to use later is also in GUI.
Setup IIS
First, I borrow some code I wrote before (https://github.com/EdiWang/EnvSetup) to install IIS (except ASP.NET, because we're using .NET Core, it has nothing to do with classic ASP.NET).
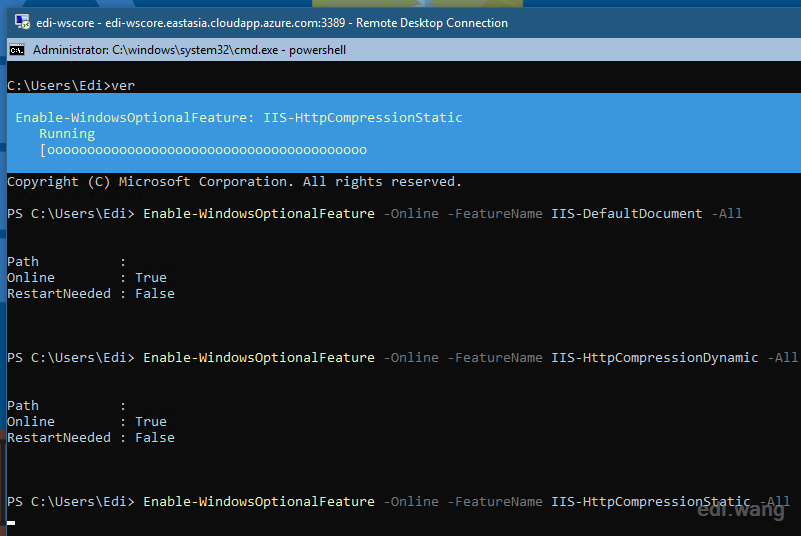
Enter powershell to switch to Windows PowerShell under cmd, and execute these commands in order:
Enable-WindowsOptionalFeature-Online -FeatureName IIS-DefaultDocument -All
Enable-WindowsOptionalFeature-Online -FeatureName IIS-HttpCompressionDynamic -All
Enable-WindowsOptionalFeature-Online -FeatureName IIS-HttpCompressionStatic -All
Enable-WindowsOptionalFeature-Online -FeatureName IIS-WebSockets -All
Enable-WindowsOptionalFeature-Online -FeatureName IIS-ApplicationInit -All
Enable-WindowsOptionalFeature-Online -FeatureName IIS-ServerSideIncludes
Enable-WindowsOptionalFeature-Online -FeatureName IIS-BasicAuthentication
Enable-WindowsOptionalFeature-Online -FeatureName IIS-WindowsAuthentication
This step can also be done with the Install-Windows Feature Web-Server command, but I haven't tried it, and you can try it yourself.
Install Management Service.
Install-WindowsFeatureWeb-Mgmt-Service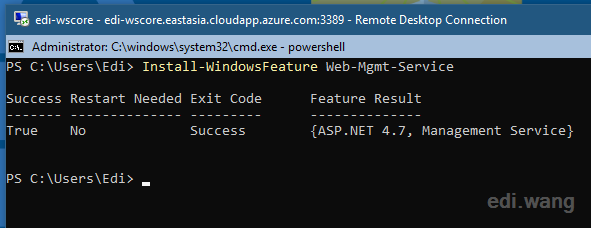
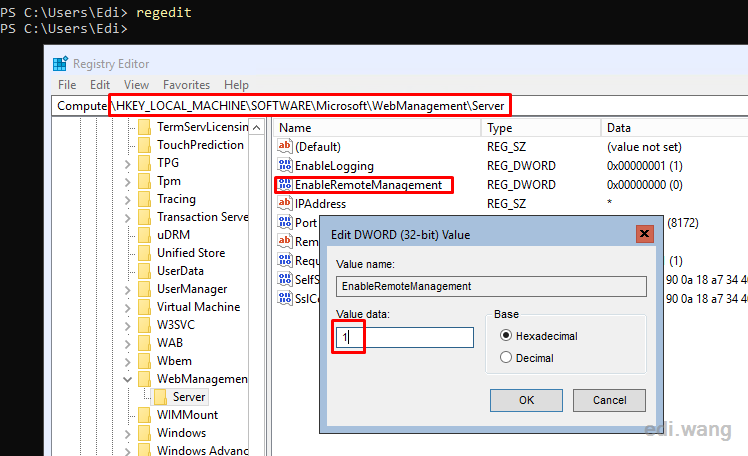
Run regedit and navigate to:
HKEY_LOCAL_MACHINE\SOFTWARE\Microsoft\WebManagement\ServerChange EnableRemoteManagement to 1.
Enter exit to go back to cmd, we need to configure wmsvc to auto start, and then start it.
scconfig wmsvc start=auto
netstart wmsvc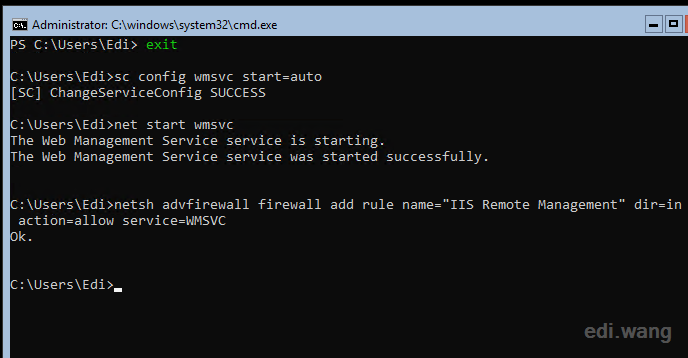
And to allow Windows Firewall (not Azure NSG) to pass through this service.
netsh advfirewall firewall add rule name=”IIS Remote Management” dir=in action=allow service=WMSVCIf you have enabled Azure NSG, please open port 8172.
Install ASP.NET Core Server Environment
Although we can download the .NET Core runtime and install it manually in PowerShell, it's not convenient. There's actually a command-line package management tool on Windows that's called chocolatey, and we can install a lot of software fully automatically from the command line.
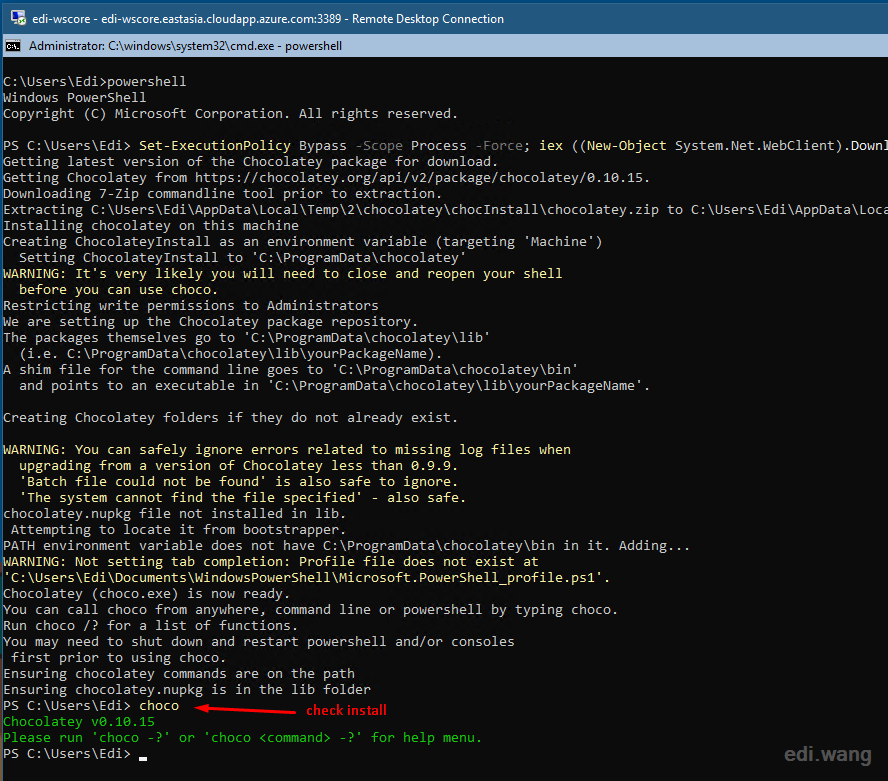
Enter PowerShell again, and install choco
Set-ExecutionPolicyBypass -Scope Process -Force; iex ((New-ObjectSystem.Net.WebClient).DownloadString('https://chocolatey.org/install.ps1'))When you're done, type choco to check if it is installed.
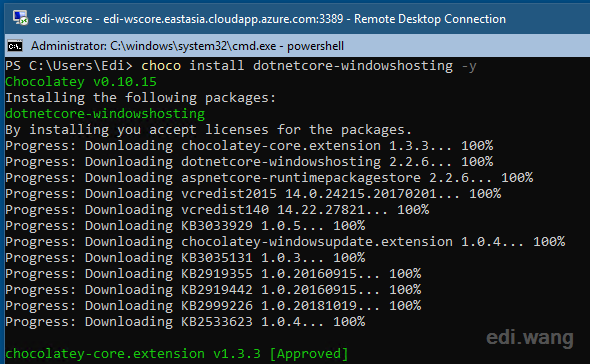
Execute the following command to installation ASP.NET Core server environment automatically.
chocoinstall dotnetcore-windowshosting -yIt will install both x86 and x64 runtimes, and IIS's ANCM module
Install Web Deploy
Use choco to install Web Deploy, which is then used to remotely publish ASP.NET Core sites.
chocoinstall webdeploy -y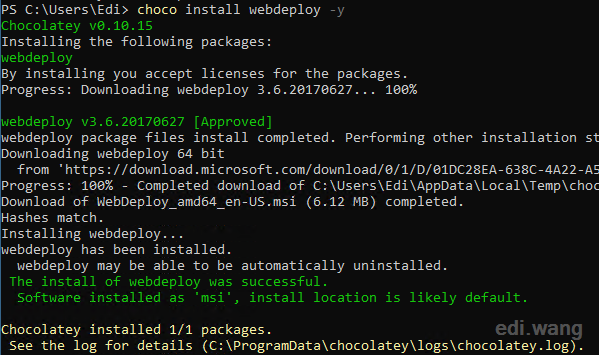
Restart w3svc service
net stop w3svc
net start w3svc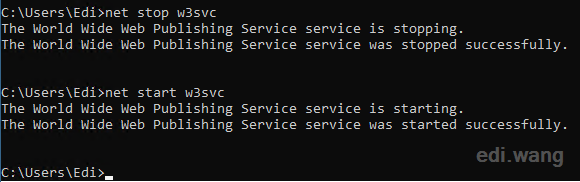
Manage IIS
We are now able to connect remotely to this server in the IIS Manager for website publishing. This can be done on any machine with an IIS 7+ manager, such as our own Windows 10 client.
You need to download an add-in for this. IISManager for Remote Administration 1.2
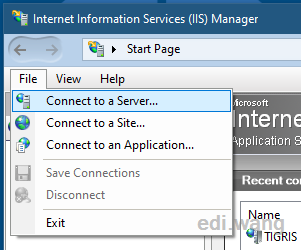
Click File-> Connect to a Server
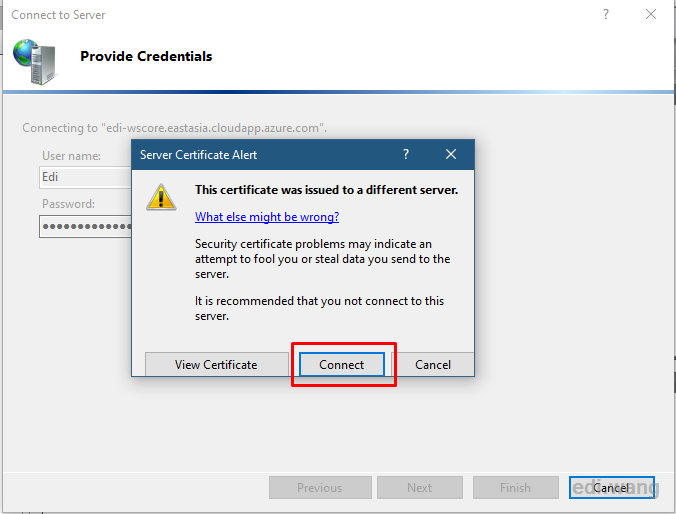
Enter our server address, which is the DNS name that was assigned by Azure.

Ignore certificate warning, click Connect
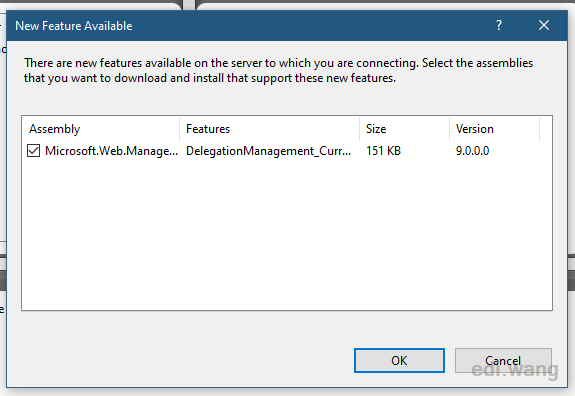
Install all the components in the popup dialog.
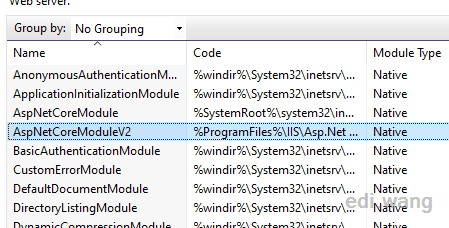
Now you should be able to see and manage websites on the remote server. First, we need to check if ANCM is installed on the server.
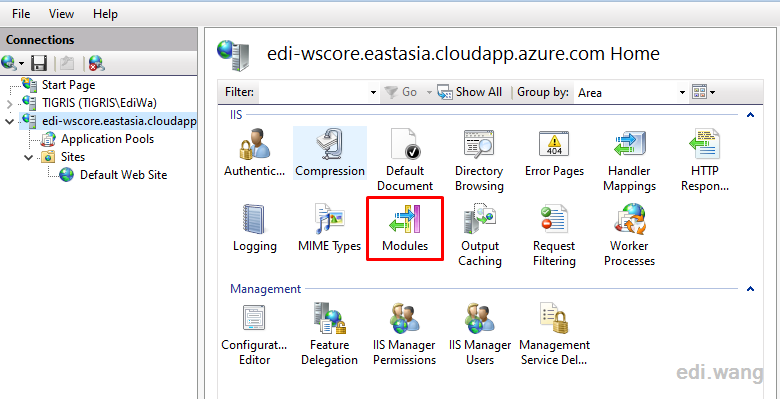
Check if AspNetCoreModule and AspNetCoreModuleV2 exists. These are the IIS modules to run ASP.NET Core websites.
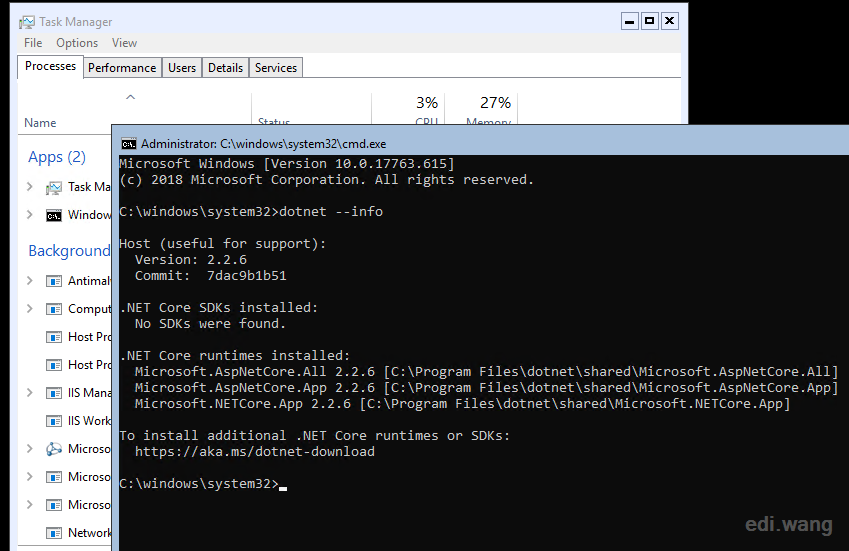
Of course, you can also use the dotnet-info command on the server to check the runtime version.
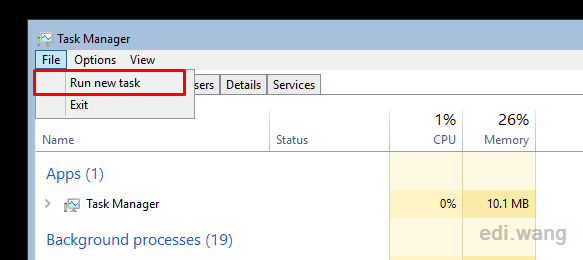
The most convenient way to refresh the environment variable is to restart cmd. However, if we exit cmd on the server, because there is no complete desktop, do not know where to start cmd. The trick is, press CTRL+SHIFT+ESC call out the task manager, and then run the cmd command.
Now you can check the .NET Core version.
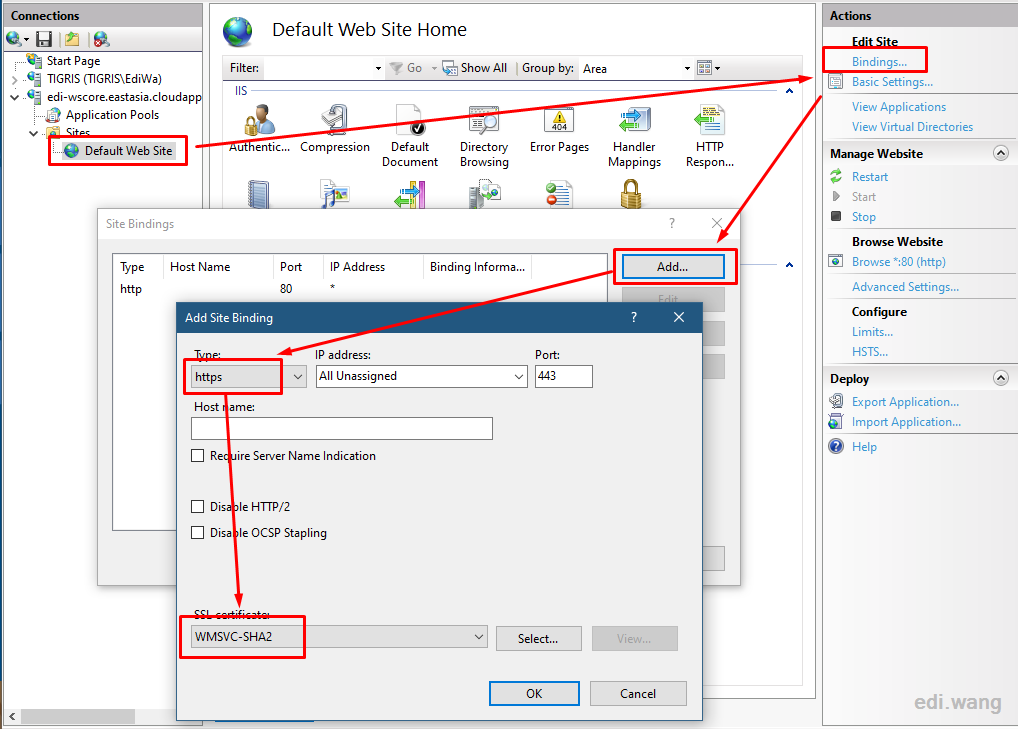
Now, go back to the IIS manager on the local PC. Assign the default site with https support in IIS because .NET Core now enables https by default (although we don't have a certificate).
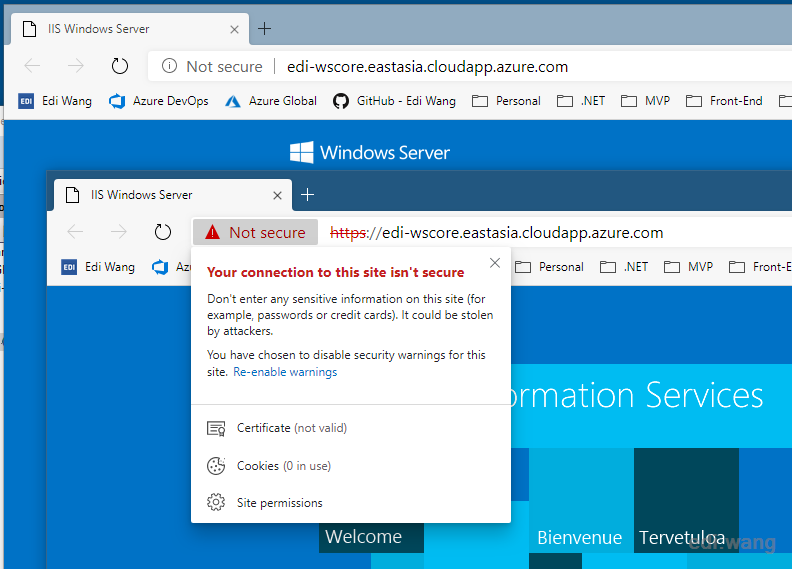
Then try to access the URL for both http and https protocol, which is your VM DNS name, ignore the certificate warning, and should be able to open the default IIS welcome page.
Publish ASP.NET Core Website
While the CI/CD tool, such as Azure DevOps, is fully capable of using Web Deploy to publish websites, it can save us a lot of time, but what's the fun in that? I'll show you how to do it manually.
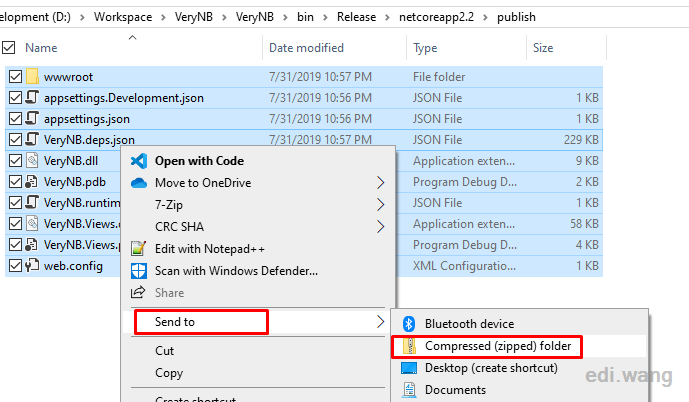
Compile an ASP.NET Core site and publish it to the local file system. Then put the published file into a zip package.
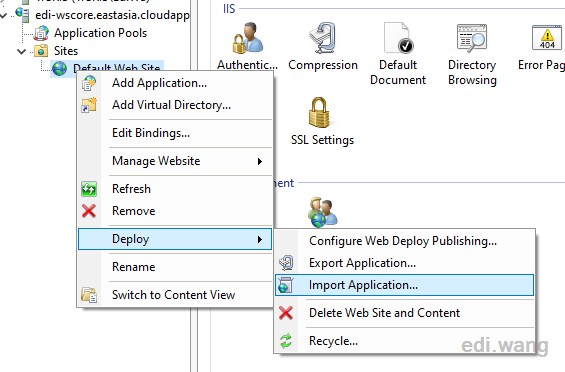
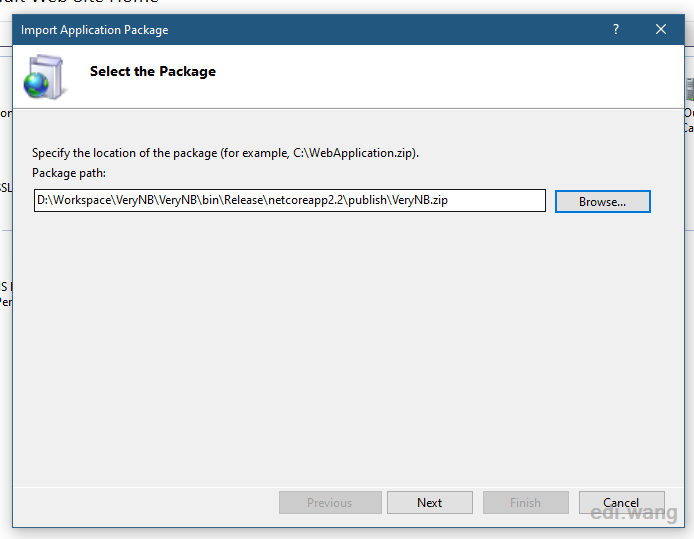
Then go back to IIS manager, right-click on the website, select Deploy / Import Application
Select the zip file you just packaged
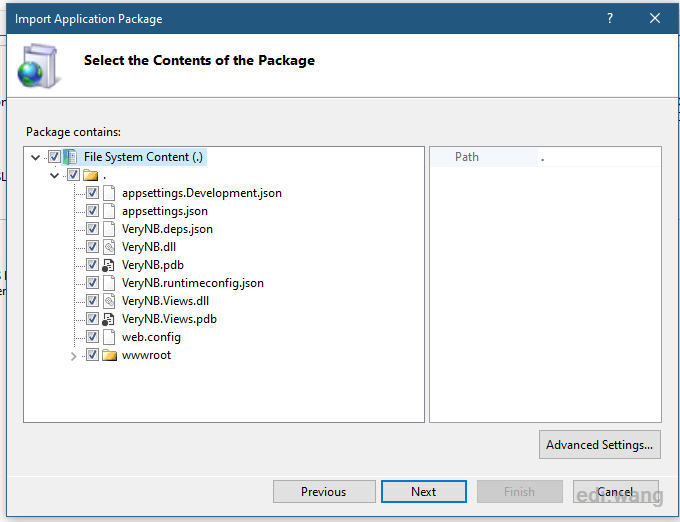
Select all the contents.
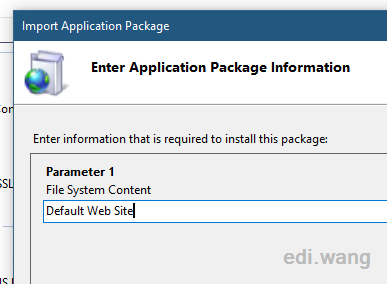
Enter the site name (must be the same name as the site displayed in the IIS Manager)
Finish the import.
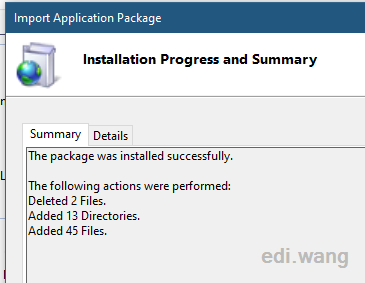
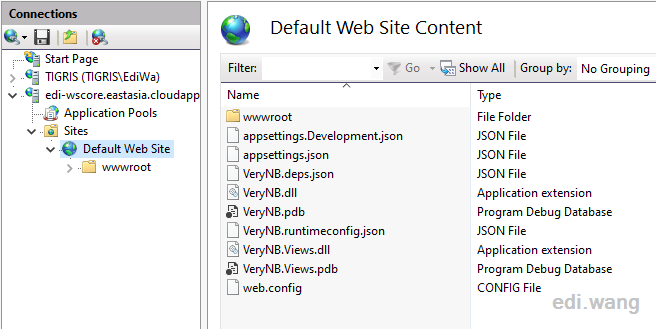
Now you can see the website's content in IIS Manager.
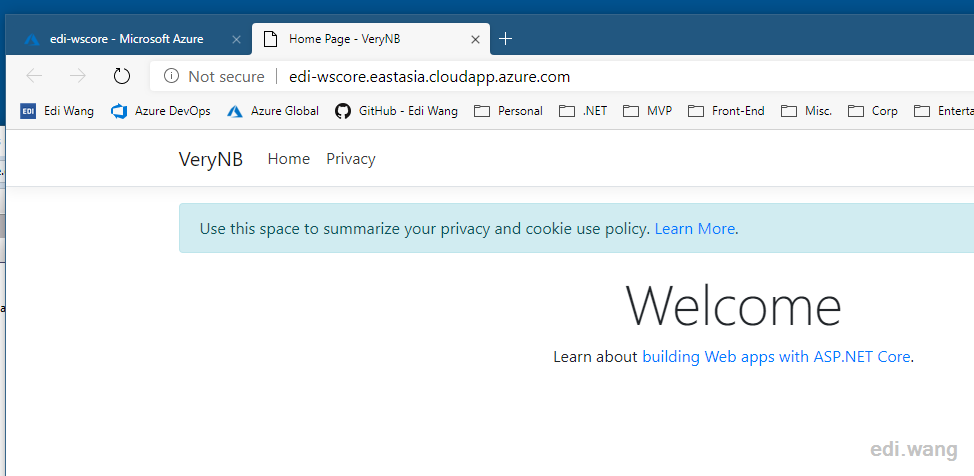
Try to access the VM URL now, you can see the ASP.NET Core website running.
弱弱的问一句,搭个人博客,全套使用Azure的话,一个月大概需要多少RMB😂
Hi, Thanks for the explanation. I am having the following error. Can you please help. Enable-WindowsOptionalFeature-Online -FeatureName IIS-DefaultDocument -All Enable-WindowsOptionalFeature-Online : The term 'Enable-WindowsOptionalFeature-Online' is not recognized as the name of a cmdlet, function, script file, or operable program. Check the spelling of the name, or if a path was included, verify that the path is correct and try again. At line:1 char:2
Thanks man, Good to see Chinese guy
Thanks. Very helpful. You have several missing spaces between the commands, e.g., Set-ExecutionPolicyBypass should read Set-ExecutionPolicy -ExecutionPolicy Bypass. Enable-WindowsOptionalFeature-Online should read Enable-WindowsOptionalFeature -Online