Recently, there was a demand to switch the data storage from SQL Server database to Azure Storage Table. However, neither SSMS nor Azure Portal provide a direct import function. You may now consider writing a tool to import data, but actually it isn't necessary. I still managed to do it within mouse clicks.
But the first thing to warn everyone is that relational databases like SQL Server are not the same as the NoSQL service provided by Azure. Before proceeding, please research and make sure your business is really suitable for the Azure Storage Table (or Cosmos Table).
Preparation
Of course you need an Azure Storage Account, create an empty table in it to import data, for example: LinkTracking
Download and install Microsoft Azure Storage Explorer
Download and install SQL Server Management Studio (Windows only) or Azure Data Studio (cross-platform)
Export Data
We need to export the data in the SQL Server table to CSV format in order to import into Azure Storage Table. But we have to do some processing on the data before it can be used.
Taking the export of single table data as an example, Azure Storage Table requires two necessary fields: PartitionKey, RowKey. The SQL Server tables often use one or more columns as the primary key, and there is no fixed name constraints. Therefore, the first thing we have to deal with is the primary key.
My LinkTracking table uses a GUID-type Id as the primary key that can convert to RowKey. As for PartitionKey, the original table does not have that, we can create a fixed string, such as'LT996'.
You can get PartitionKey and RowKey through a simple SELECT statement:
SELECT
    'LT996' AS PartitionKey,
    lt.Id AS RowKey
    -- other fields...
FROM LinkTracking lt
Then we need to format certain data types like the DateTime, it must be converted to ISO 8601 format. Luckily, in T-SQL we an convert a DateTime to ISO 8601 by:
CONVERT(char(30), <DateTime>,126) If your table has bit representing bool values, we can use a CASE WHEN statement.
CASE
    WHEN [IsEnabled] = '0' THEN 'false'
    WHEN [IsEnabled] = '1' THEN 'true'
END AS IsEnabled
For NULL values in string type, we must use an empty string or you will end up with string value "NULL".
CASE
WHEN l.AkaName IS NULL THEN ''
WHEN l.AkaName IS NOT NULL THEN l.AkaName
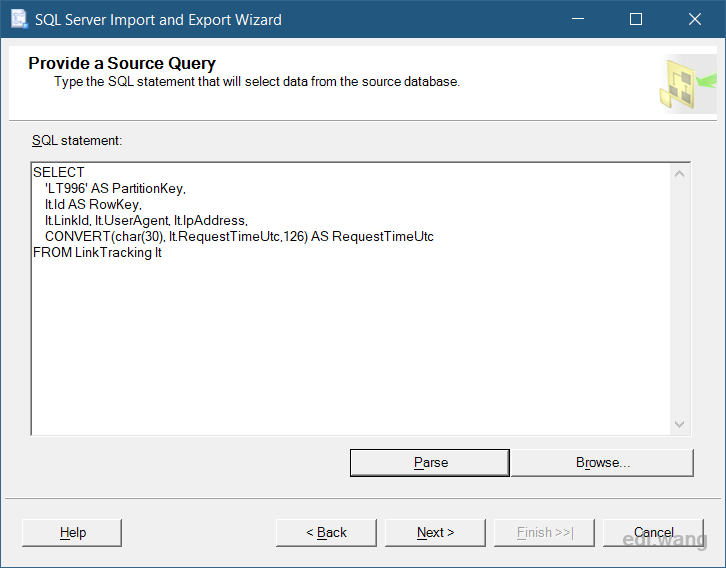
END AS AkaNameIn my example, I don't have these two, so the final SQL for me is:
SELECT
    'LT996' AS PartitionKey,
    lt.Id AS RowKey,
    lt.LinkId, lt.UserAgent, lt.IpAddress,
    CONVERT(char(30), lt.RequestTimeUtc,126) AS RequestTimeUtc
FROM LinkTracking lt
Now, with our SQL in place, we are ready to export our data to CSV, there are three ways to do it.
For a few amount of data
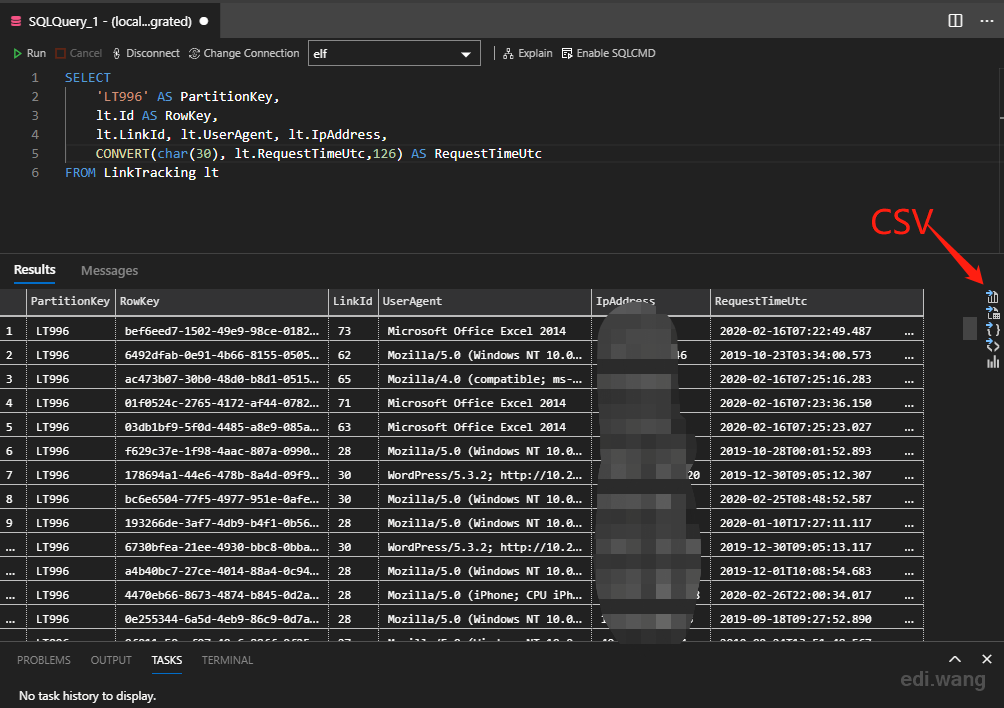
If the amount of data in your table is not very large, you can use Azure Data Studio, a cross-platform tool to complete the export operation.
After executing the SQL statement in Azure Data Studio, click the Export to CSV button in the toolbar to the right of the result grid to save the result as a CSV file with column names.
But this method has disadvantages. The result grid has a limit on the amount of data. It not only limits the number of entries, but also the number of characters displayed in the column. If you encounter a large amount of data in an enterprise scenario, it will definitely blow up. So there are the other two methods for exporting data.
For general amount of data
The classic old but not obsolete SSMS provides a special data export wizard that supports the CSV format. There are also two export methods.
Export using SQL statement
We can still use the SQL we just wrote to export the data, but this time it will no longer be exported from the results grid (although SSMS supports this, but it also faces the data amount limit).
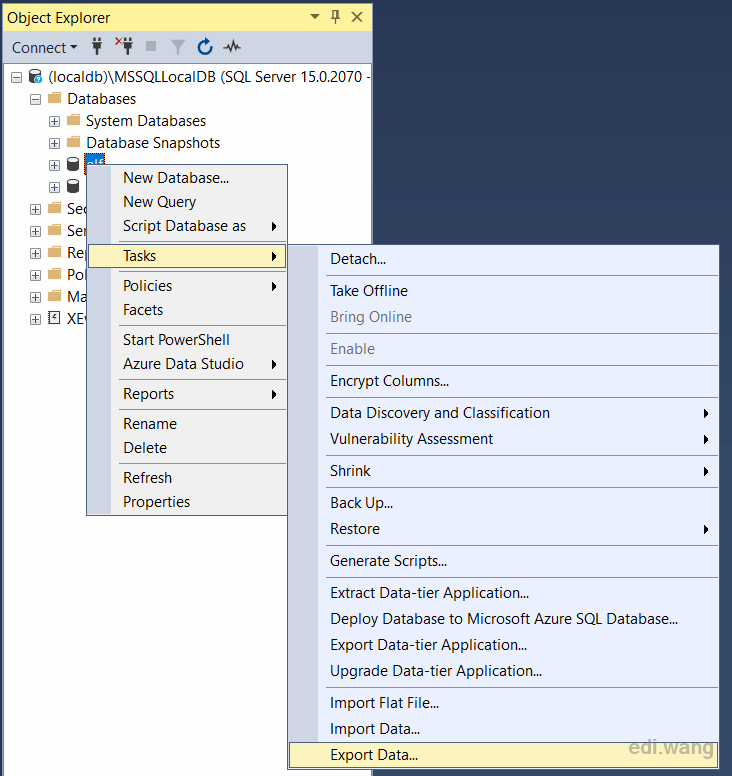
Right-click on the database and select Tasks-Export Data
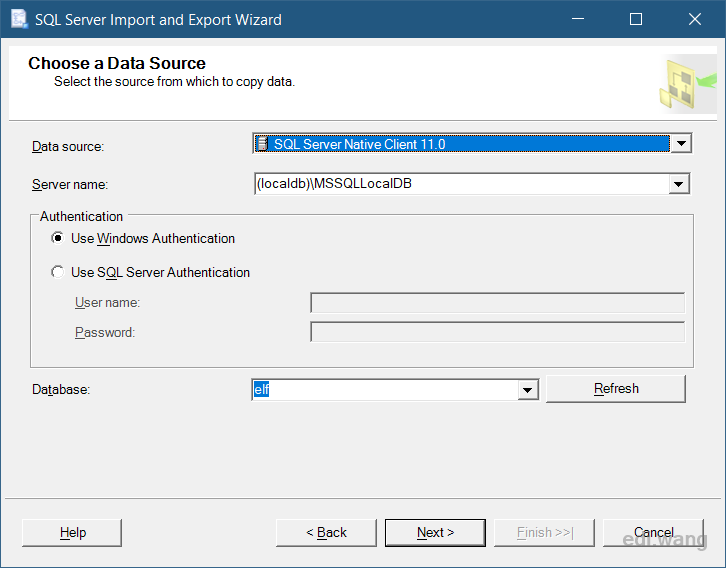
Select the data source as SQL Server Native Client and connect to your own database.
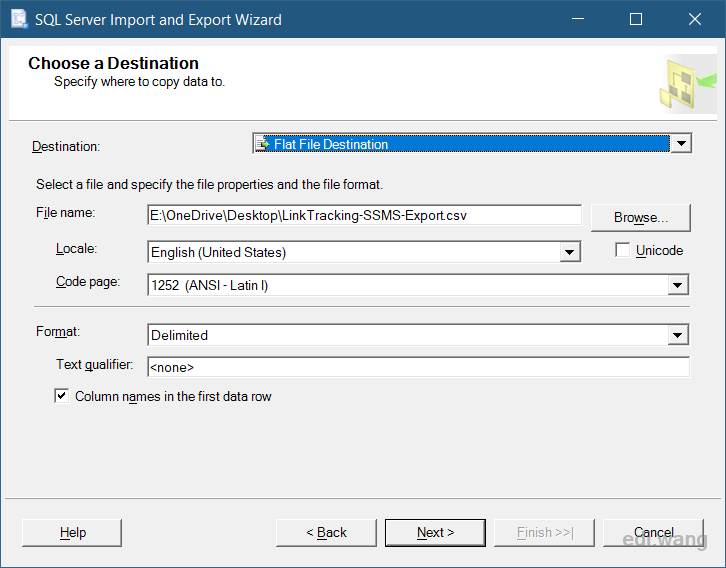
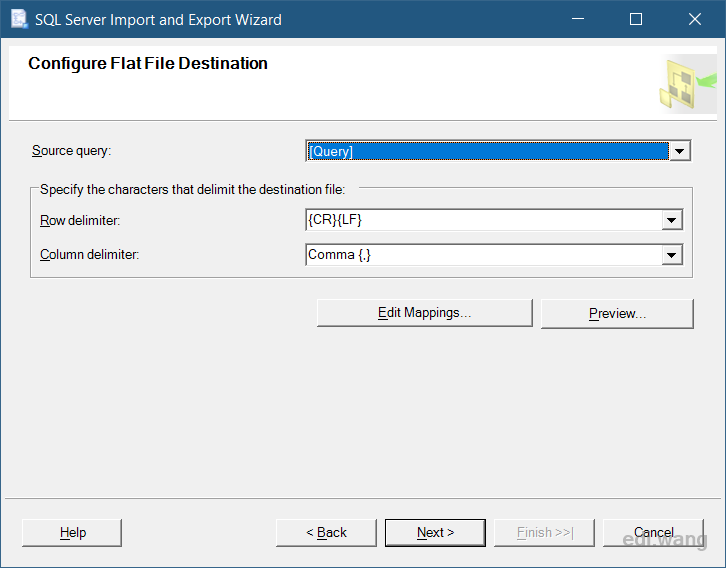
Then choose Destination as Flat File Destination and specify a CSV path as the destination.
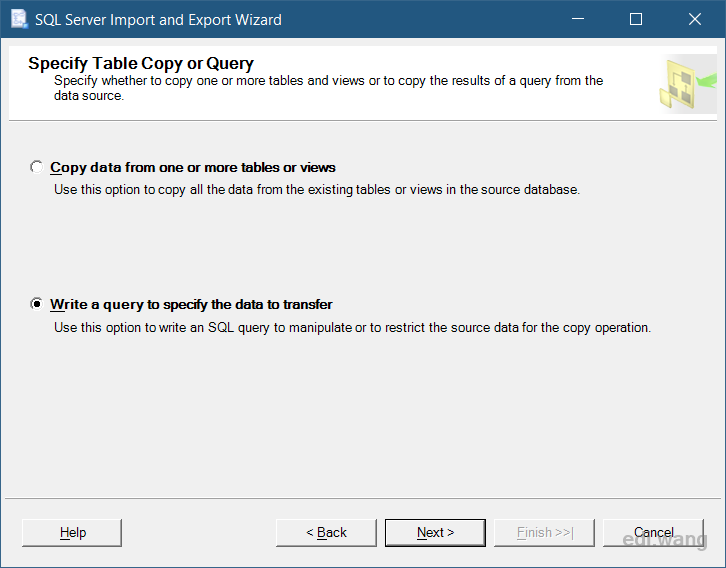
Choose "Write a query to specify the data to transfer"
Enter the SQL we got
Set row delimiter matches Windows style, and column delimiter as comma.
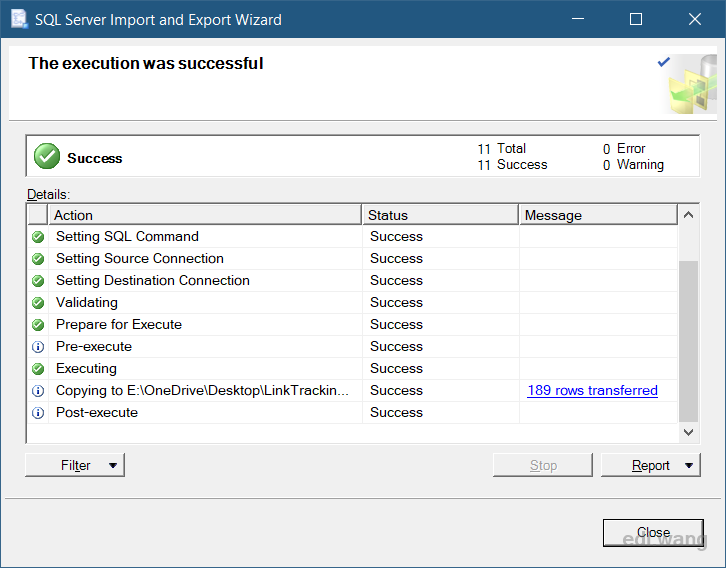
Click Next until export success.
Export from View
Another method is to create a View, still using the same SQL statement.
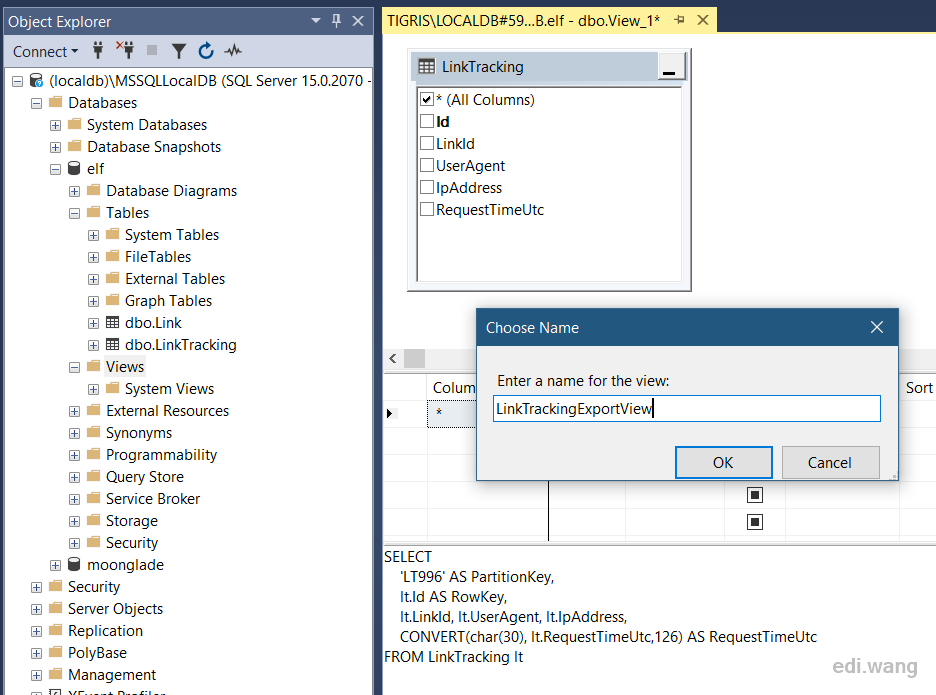
The data export method for View is almost the same as before. The only difference is to select "Copy data from one or more tables or views" in "Specify Table Copy or Query" step.
Import Data
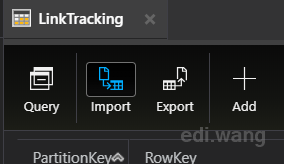
Start Azure Storage Explorer, open the target table which the data would be imported into, and click Import on the toolbar.
Select the CSV file just exported, check and change the data type if necessary for each field. In my example, I only need to change RequestTimeUtc to DateTime type.
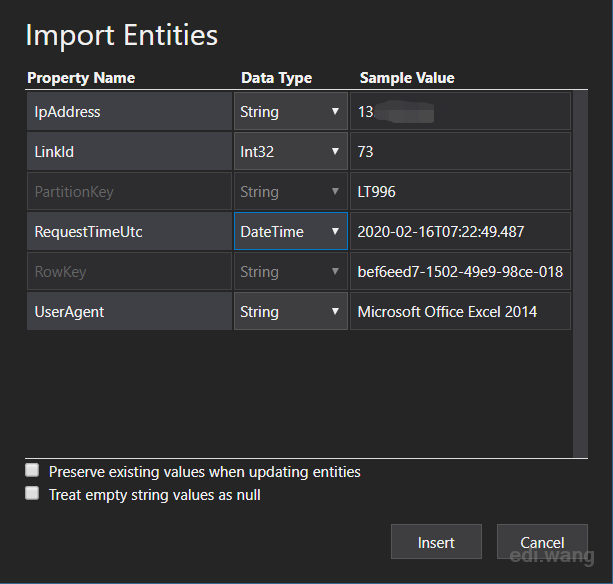
Click Insert, and then your data will be imported to Azure Storage Table.
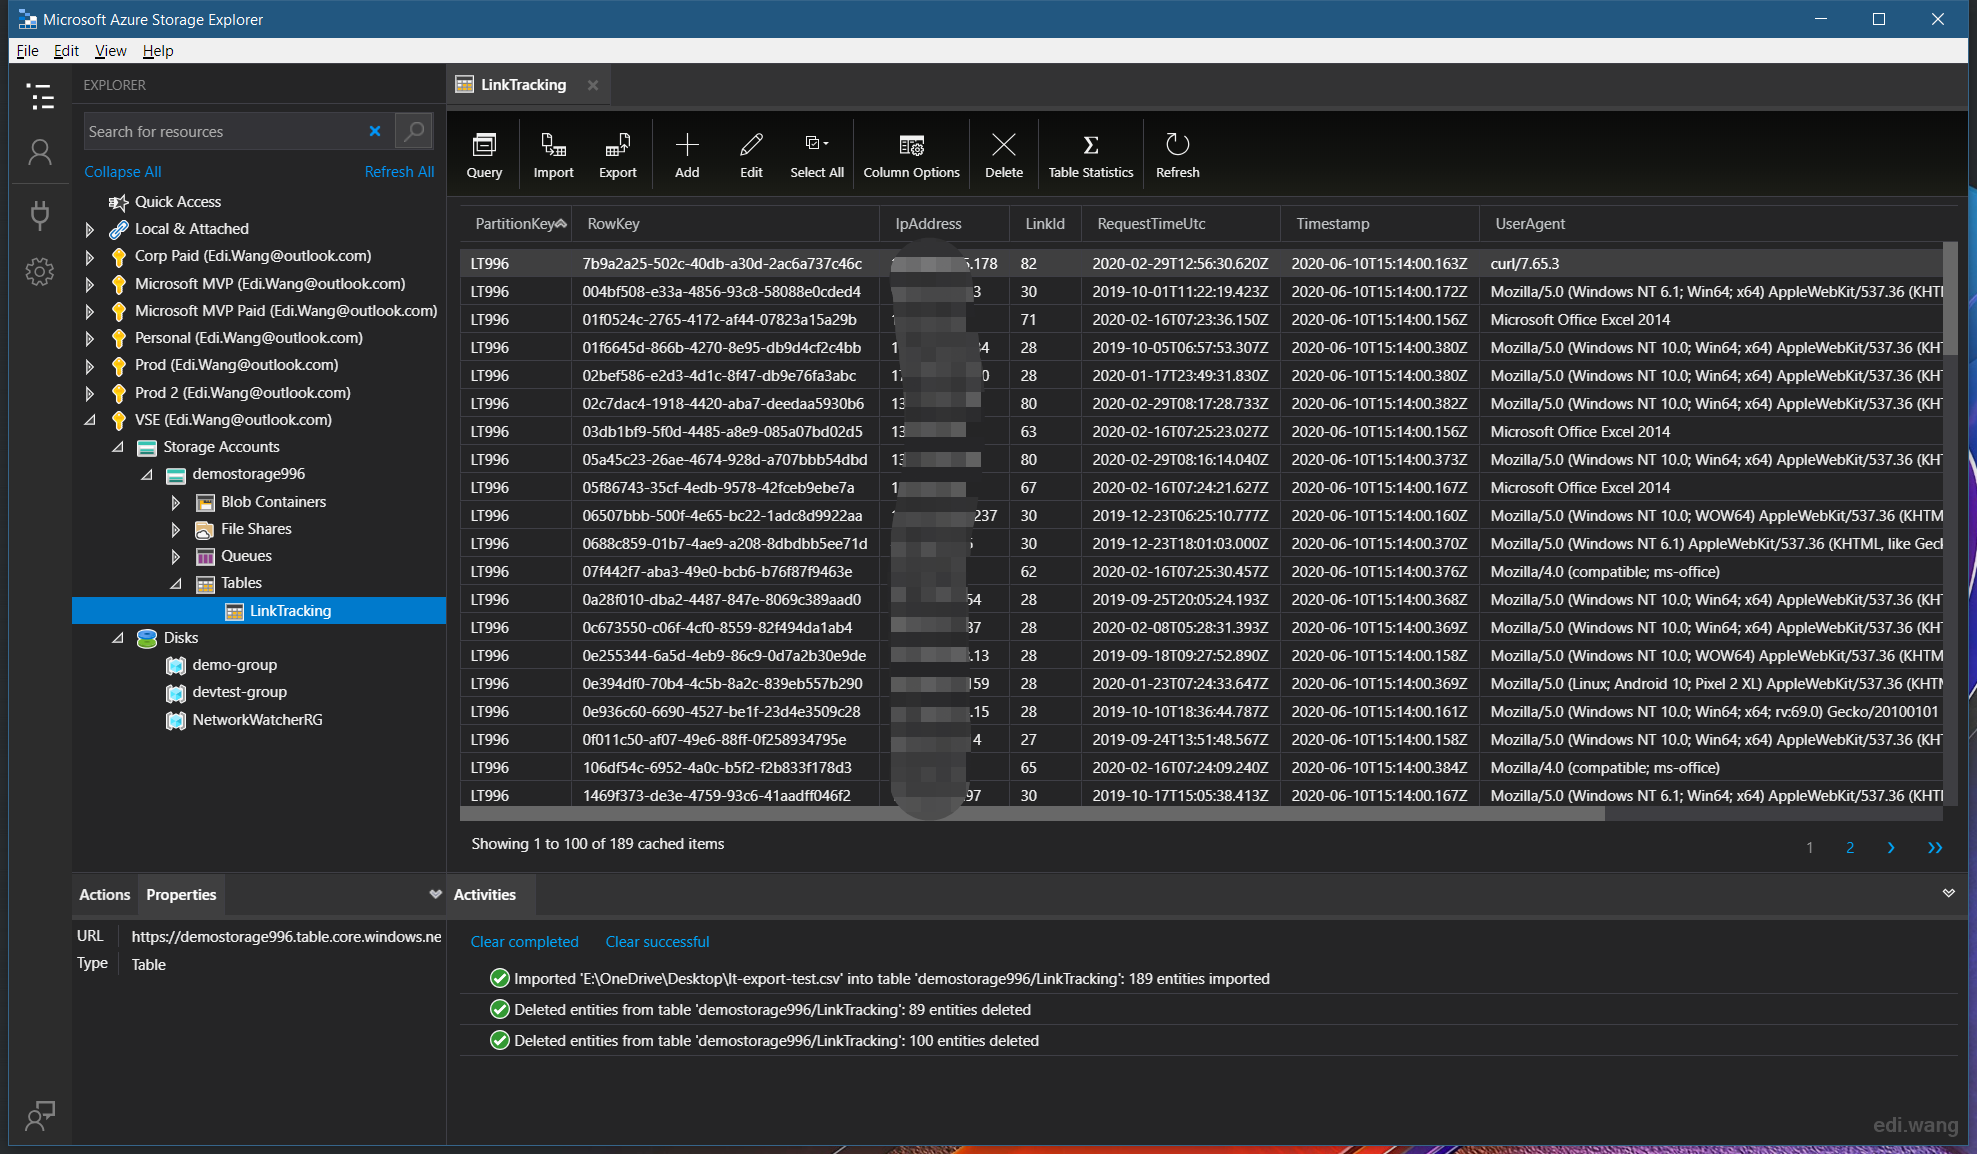
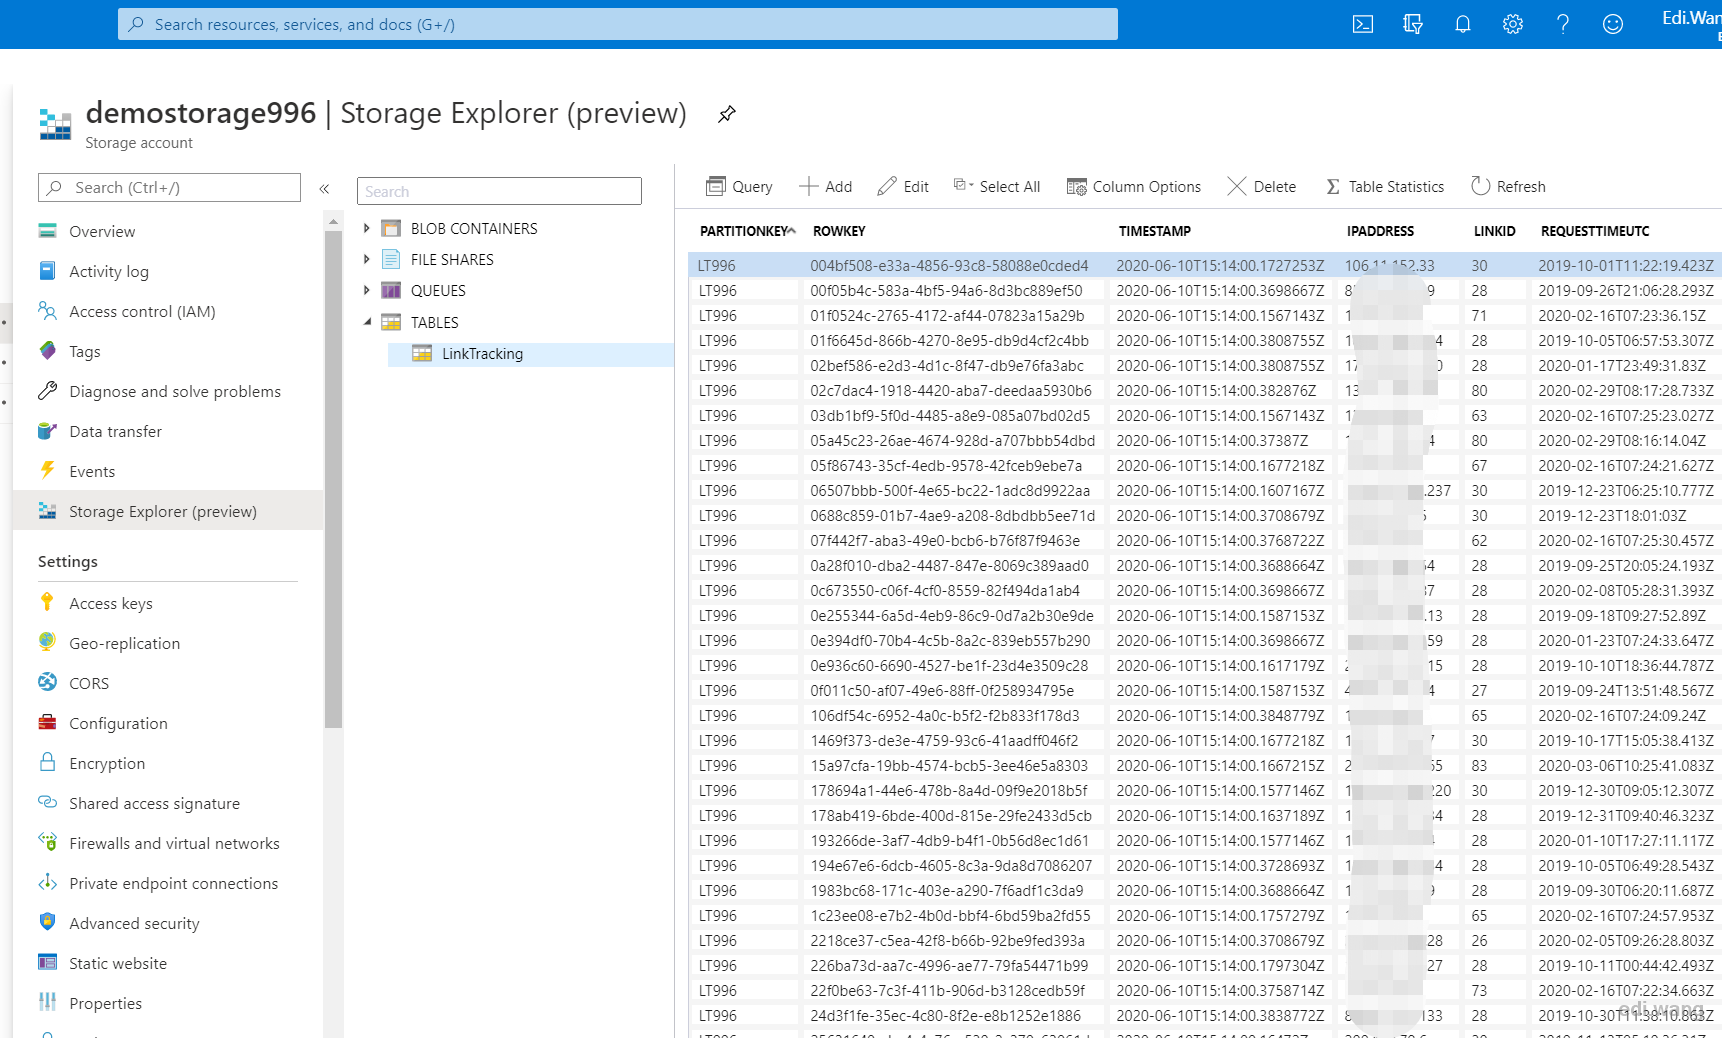
You can also verify the data on Azure Portal.
I don't see an 'Import' button in the Storage Explorer when I select a Storage Table. I tried in multiple Azure accounts. Can you help!
Thank you for the post. When exporting datetime, Azure Storage Explorer will fail unless the value is suffixed with 'Z'. Also, I found the import to be much smoother if the columns other than PK and RK specify their type as described here: https://stackoverflow.com/a/39920952/59563
Can you do the same import through the az CLI? I'm trying to determine how to seed/update table storage as part of a deployment pipeline.