Learning blockchain development requires development and test environment. However, it is way too difficult for me to manually set up a dev-test machine because I am completely new to blockchain and it's development workloads. Fortunately, Microsoft Azure offers virtual machine images that allow vendors to publish pre-configured images to the Azure marketplace and distribute them across Azure. Let's take a look at how to configure an Ontology blockchain development and test environment in Azure in a few minutes.
Create a Virtual Machine
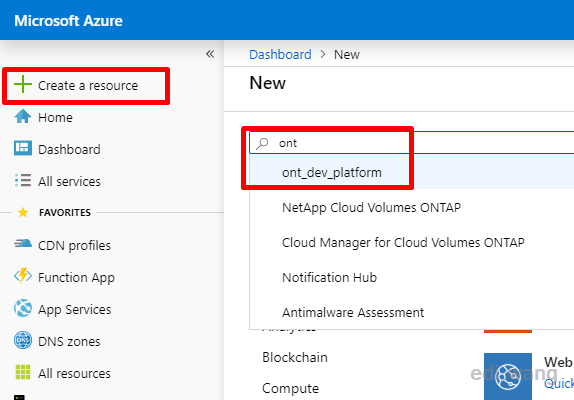
Sign in to Azure Portal, click "Create a resource", search for "ont" and select "ont_dev_platform"
This is a pre-configured virtual machine image published by Ontology, click Create
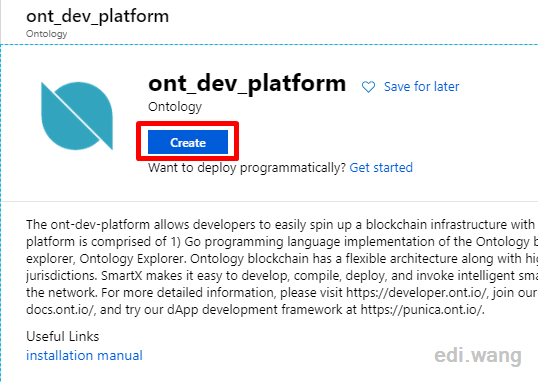
This will create a Cent OS Linux server for us.
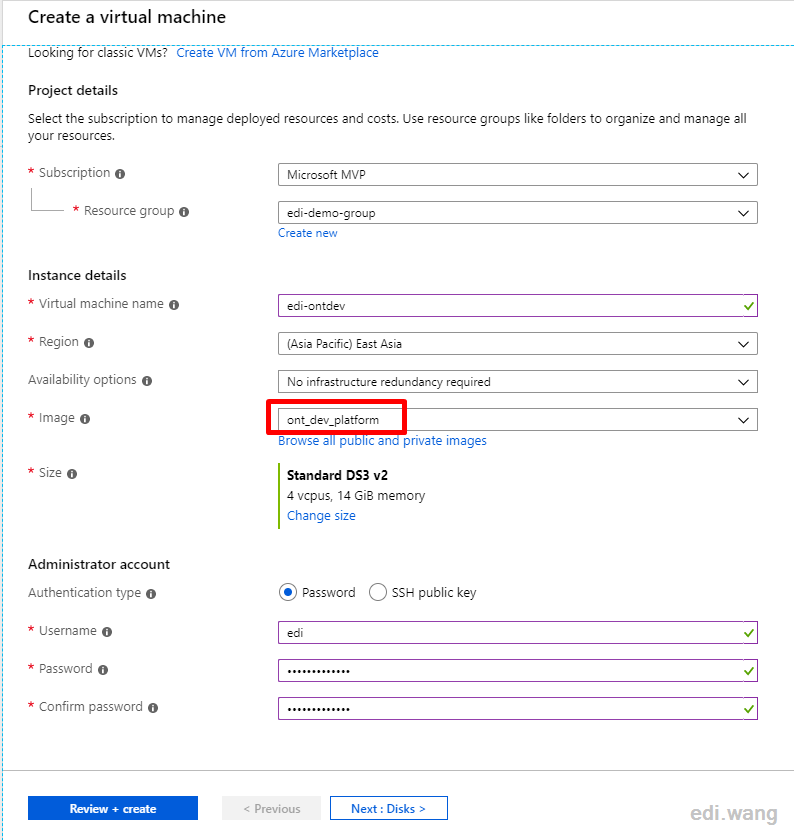
Confirm that the image is ont_dev_platform, and other parameters are filled according to your needs. I select East Asia (Hong Kong) data center that is closest to my location, retains the default in Size, which is the configuration that Ontology recommends in the template. Assign and keep in mind the administrator credential or SSH key.
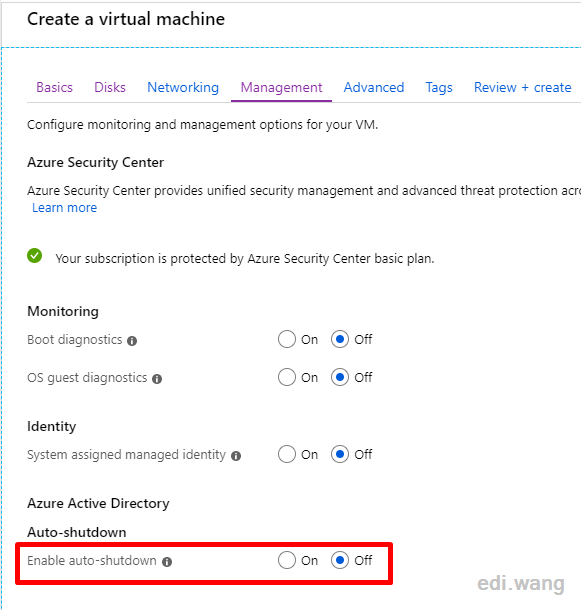
To avoid accidental shutdowns, I disabled the auto-shutdown setting in the Management tab.
Other options can be configured to suit your needs, then click Review + create, and Azure can complete the virtual machine deployment in a few minutes.
Configure the Virtual Machine
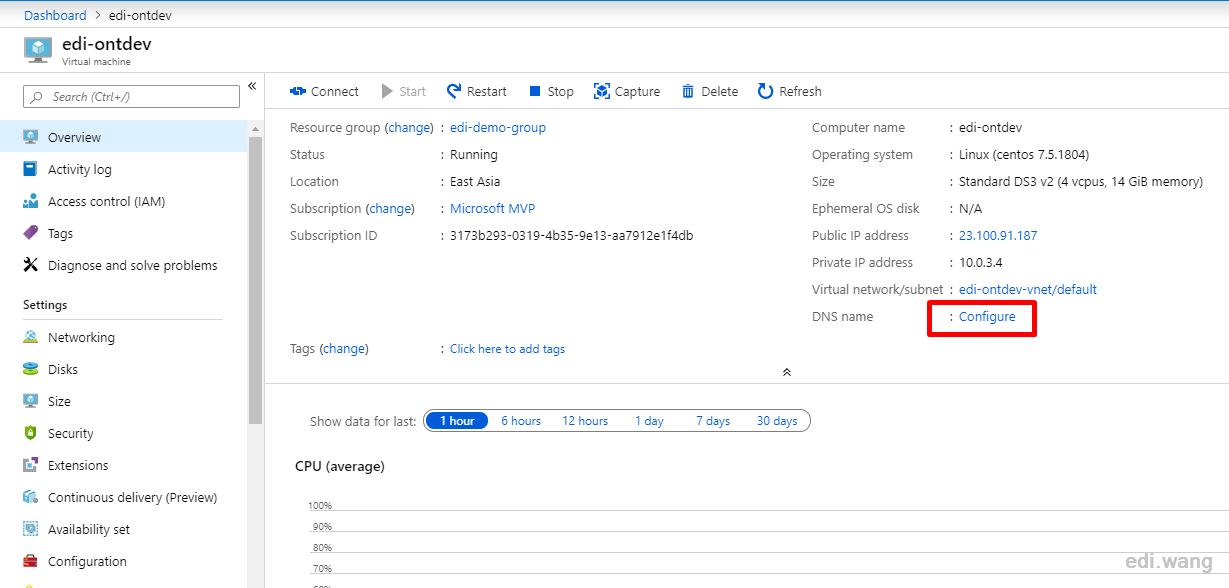
Virtual machines on Azure release public IP by default after deallocate, and while we can keep the IP, it will cost you extra money. So I recommend assigning a domain name to access the virtual machine, it is for free on Azure.
Click Configure under DNS name on the Overview page of the VM.
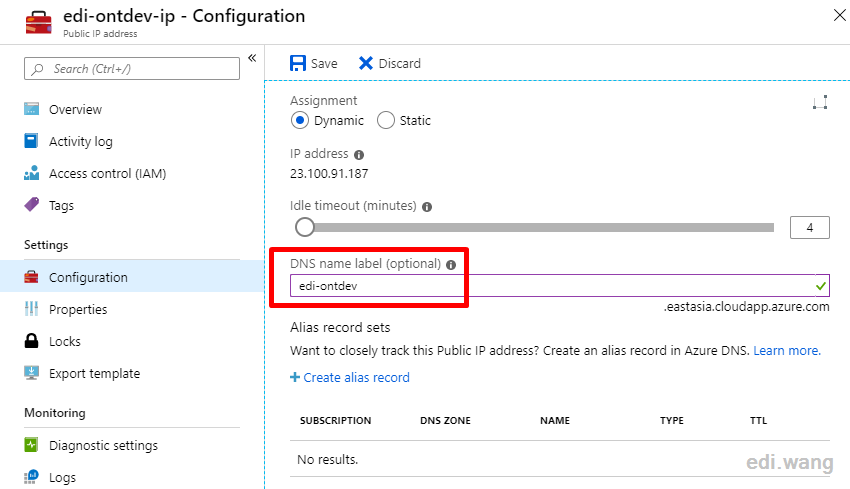
Enter a DNS name, and the domain name will be assigned to the virtual machine.
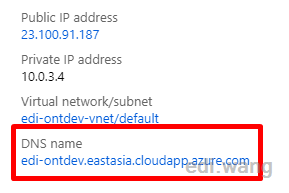
Refresh the virtual machine home page after DNS assignment, and you can view and copy the domain name.
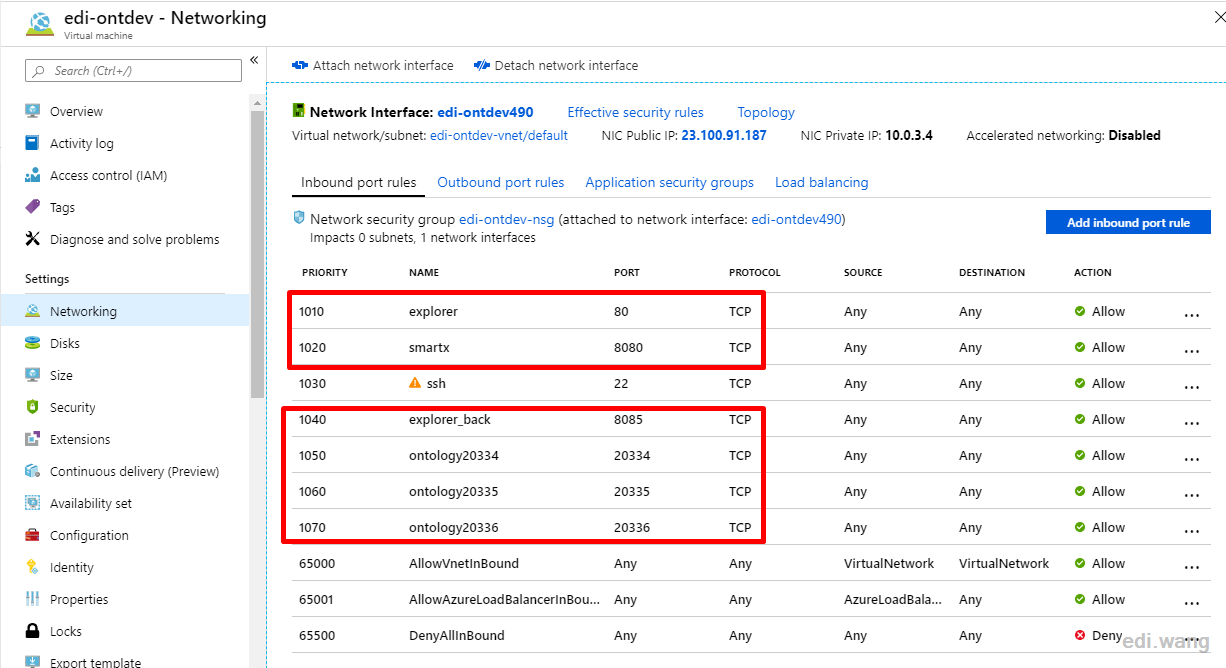
Check the Networking tab for the ports required by the blockchain environment. You need to have TCP: 80,8080,8085,20334,20335,20336 and 3306 (optional)
Start the blockchain
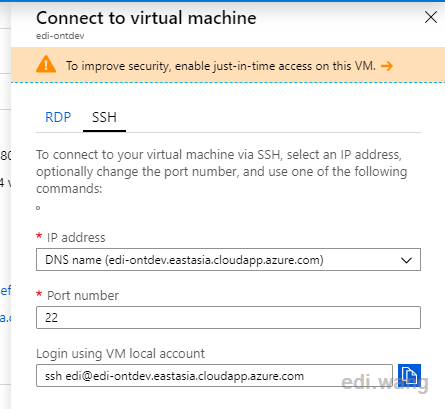
Use SSH to connect to a virtual machine, and you can choose to connect with an account password or SSH key, depending on the configuration you used when you created the virtual machine.
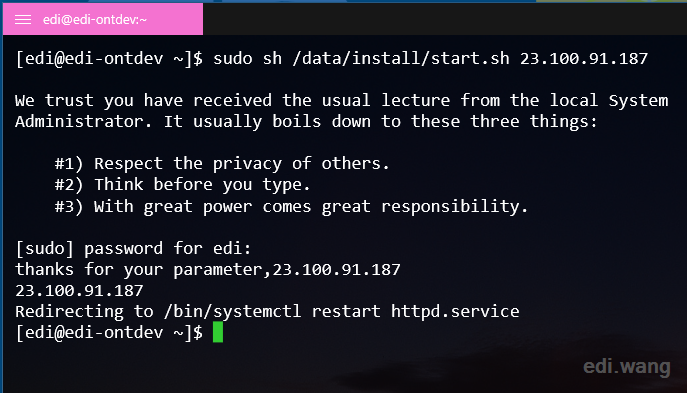
Then, execute command
sudo sh /data/install/start.sh <VM Public IP>Where public IP can be copied from Azure Portal.
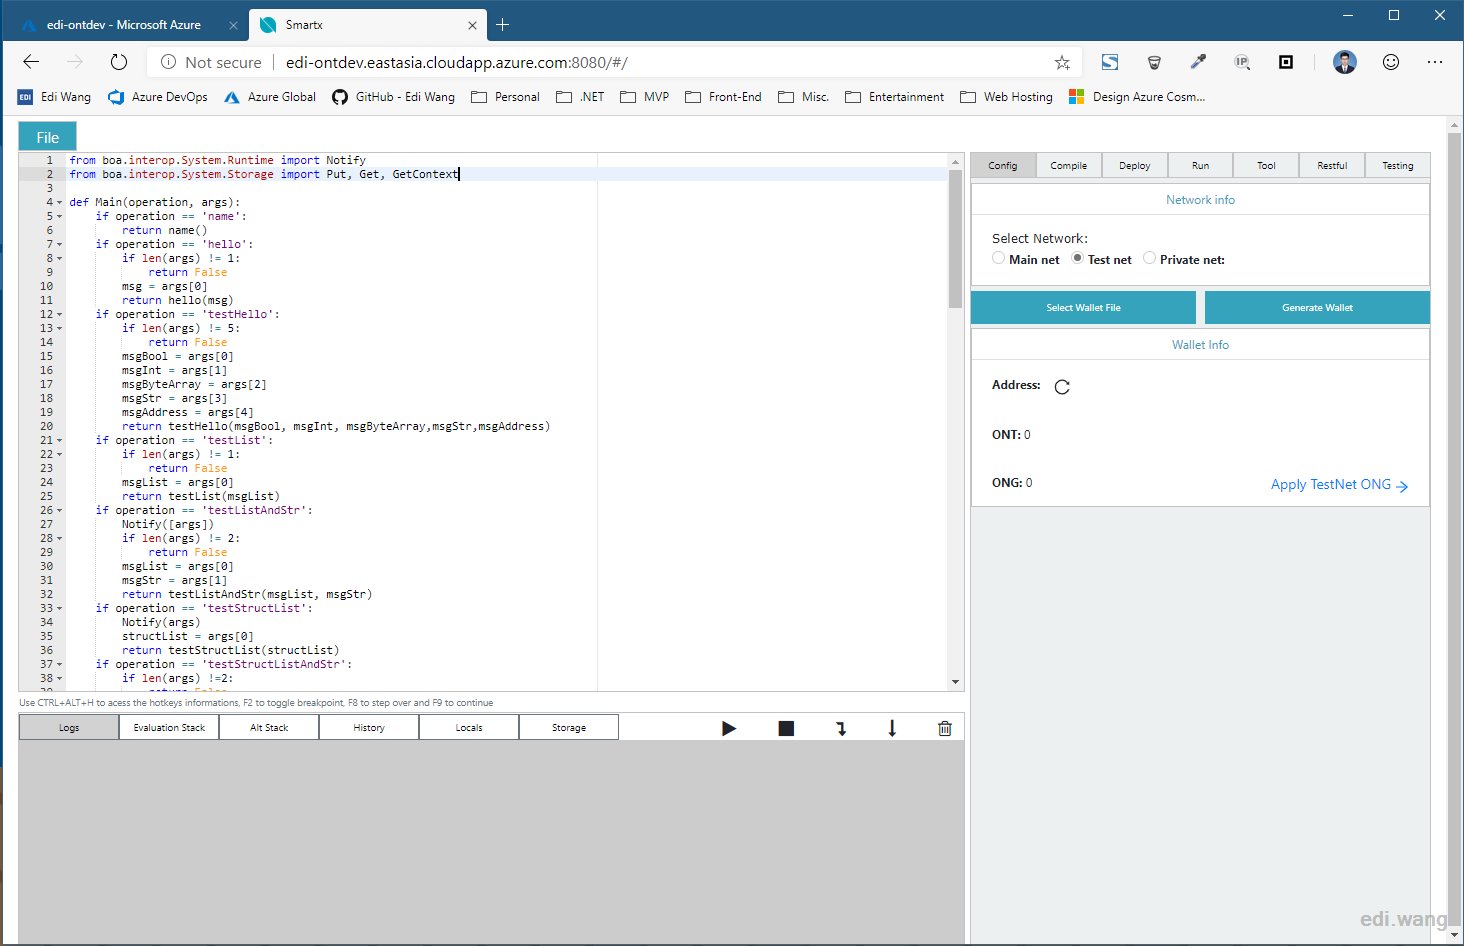
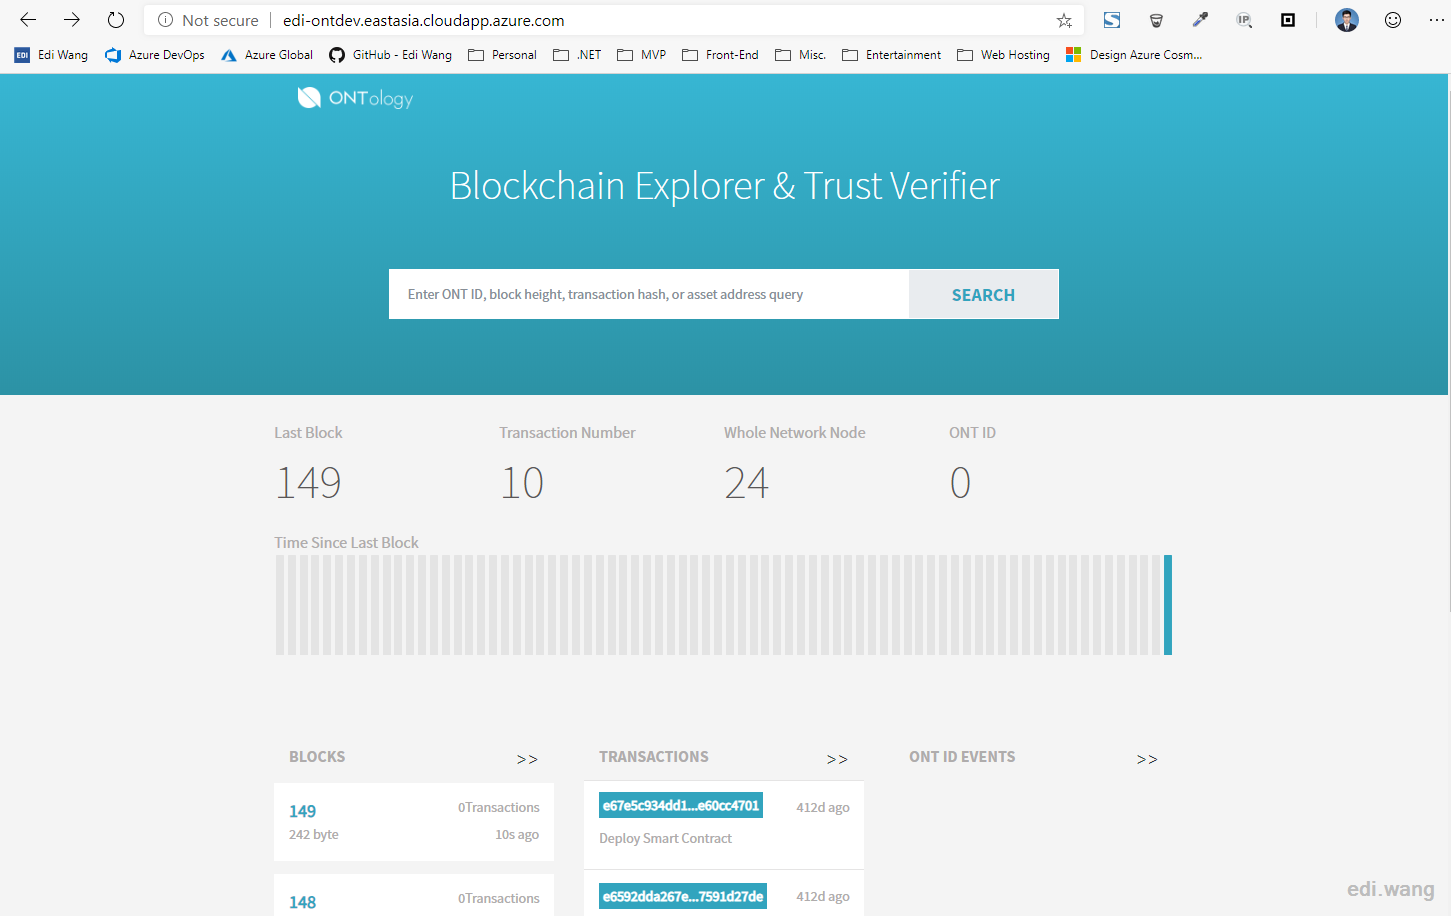
Now open your local browser, access the virtual machine domain name, and you can see the smart contract and blockchain browser running successfully.
Smartx at http://<Your VM DNS Name>:8080
Blockchain Explorer at http://<Your VM DNS Name>
Common Operations
View wallet address
The path to the ontology program is at /data/gopath/test, so we have to switch to the directory first.
cd /data/gopath/testand then execute
./ontology account list -v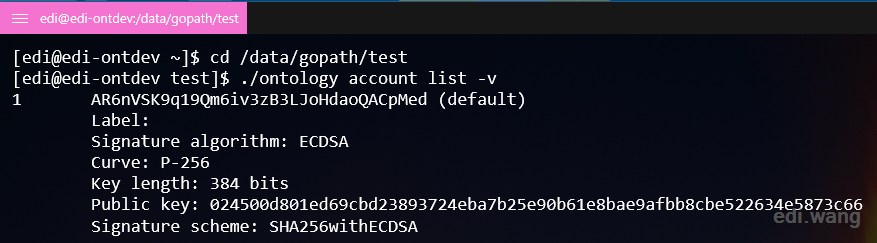
"1" is the ID of the wallet and followed is the address.
Transfer 10000 to myself
./ontology asset transfer --from 1 --to 1 --asset=ont --amount=10000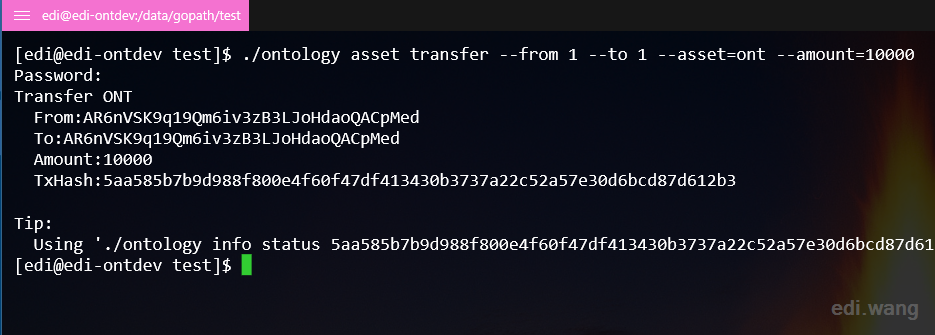
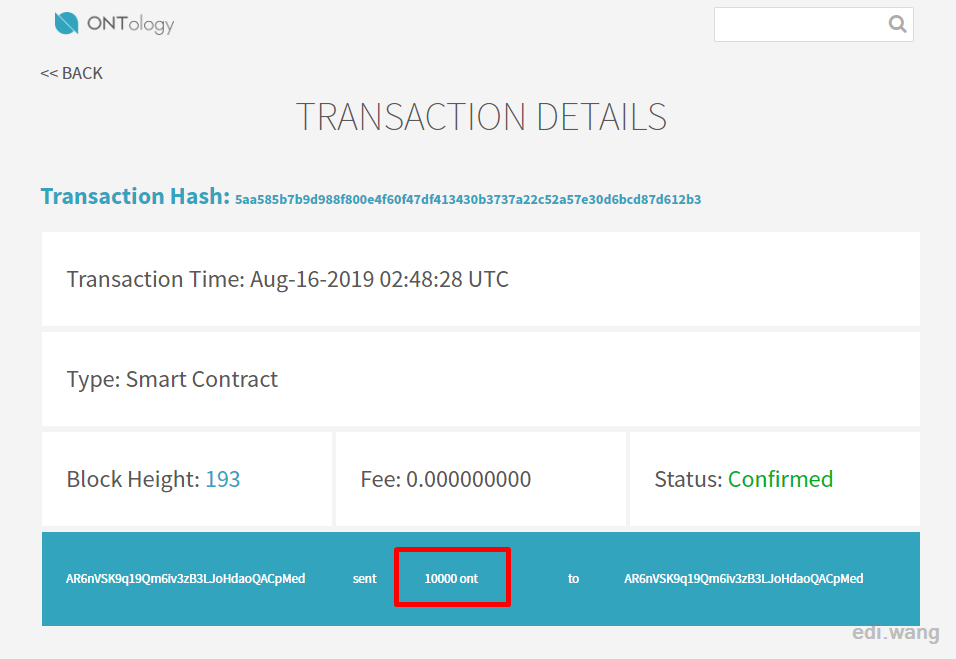
Copy TxHash and view the transfer in the blockchain browser
Closing
Azure helps us build the Ontology blockchain environment in minutes, and we just need to care about the final blockchain development and use the platform directly without having to know the details of the operating system and server software installation, saving a lot of time and effort.
Reference document: https://github.com/ontio/ontology/blob/master/docs/specifications/ont_dev_platform_azure.md
Comments