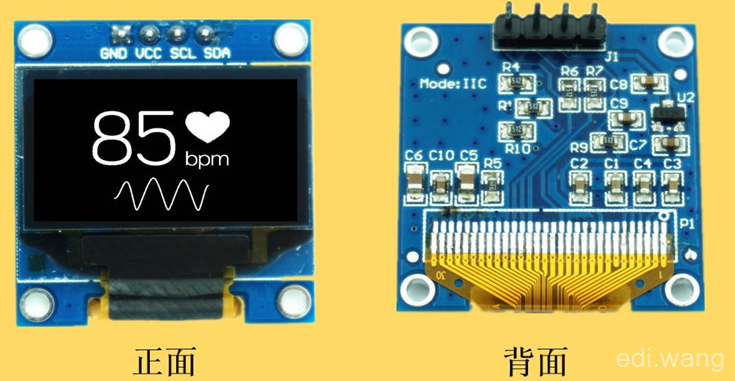
I bought a 128x64 0.96 inch OLED display, like this one:
The driver chip for this screen is called SSD 1306, typically, this chip will have 2 layouts, SPI or I2C. However, the examples fo how to drive I2C with SSD 1306 is very rare, and they run on Raspbian not Windows. Luckly, with the help from a Microsoft Staff in US, we finally got the code to run the screen on Windows 10 IoT Core.
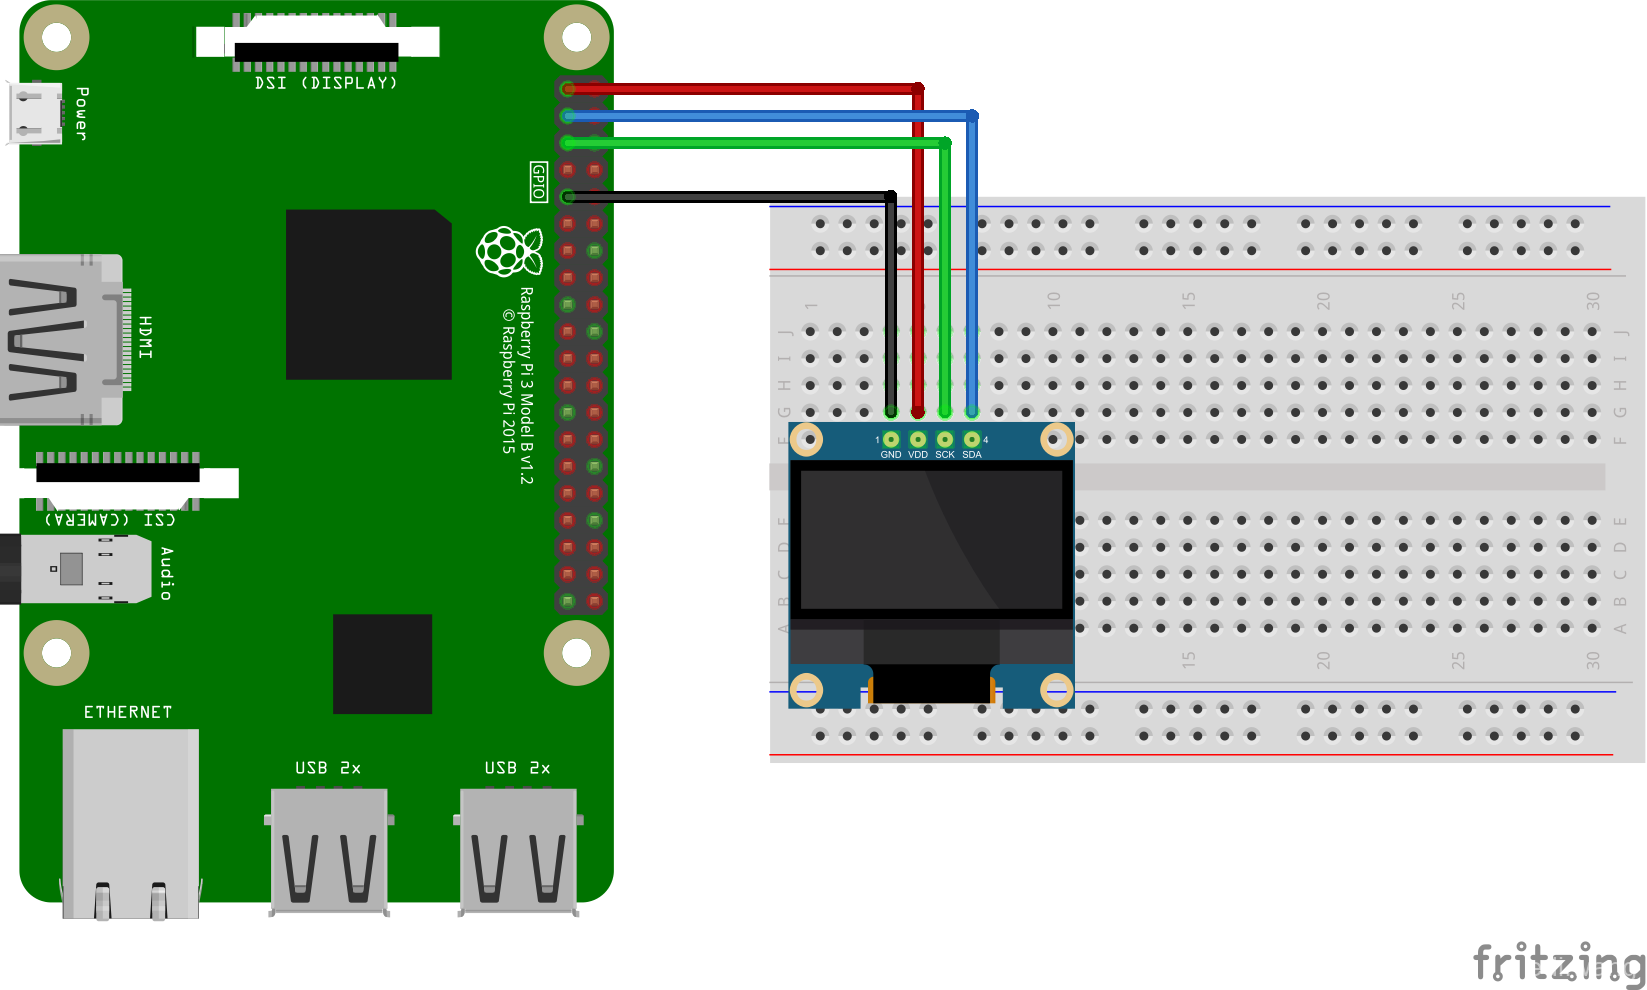
1. Physical Connection
Just like any other I2C device, connect GND to ground, VCC to DC 3.3V, SCL to clock, SDA to data.
2. Coding
The official sample gallery from Microsoft is only supporting SPI by SSD1306. The I2C version is here, but never merged to master branch, I don't know what's the hold up.
https://github.com/stefangordon/IoTCore-SSD1306-Driver
Just download and deploy to your Raspberry Pi.
This project is an UWP background app, so there will be no UI when the app is running. VS won't attach either, but the screen will work. The entrance point of the program is "StartupTask.cs"
To control the display, use "DisplayManager.cs"
The 128x64 LED can display 4 lines of text, use this method to output the text:
public void WriteLineDisplayBuf(String Line, UInt32 Col, UInt32 Row)
Row range is between 0-3, which match line 1-4 on the screen. If you want to align text to left, set "Col" to 0. Line is the content of the text, which is type of string.
To display an image, use this method:
public UInt32 WriteImageDisplayBuf(DisplayImage img, UInt32 Col, UInt32 Row)
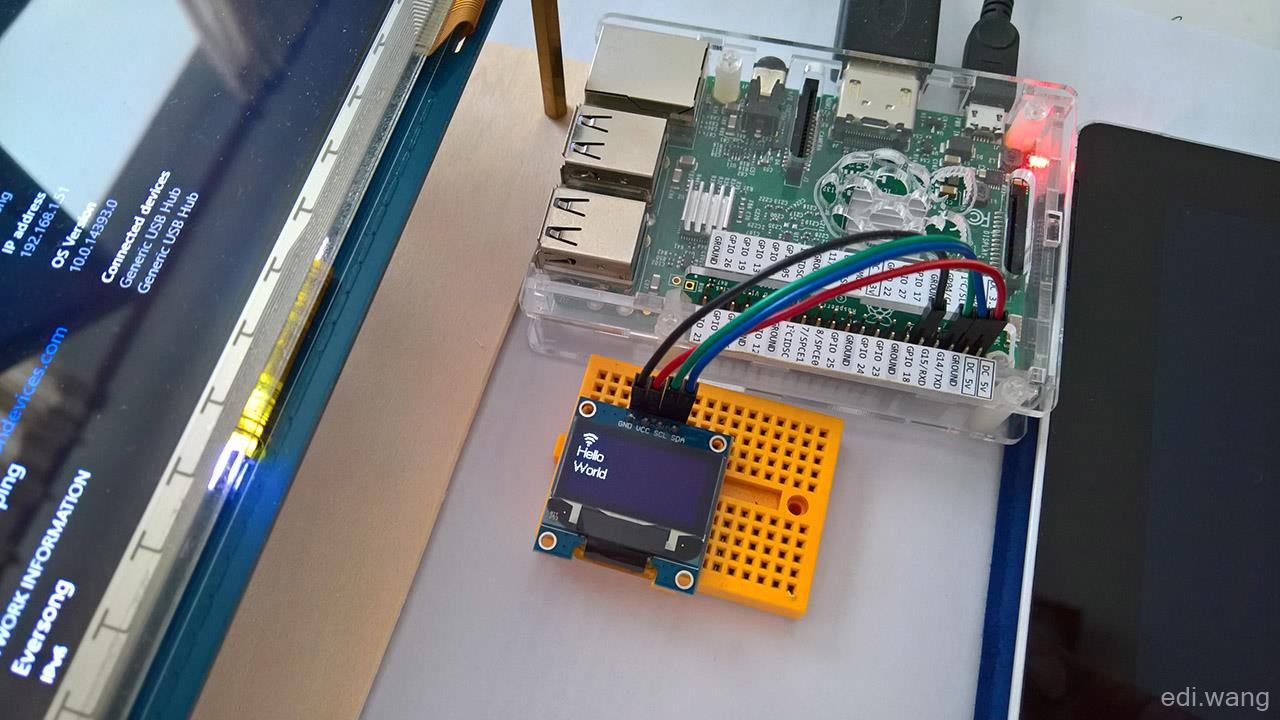
The default example in the project is to display a "WIFI Connected" picture on line 1, "Hello" on line 2, "World" on line 3, so the code is:
        static void DrawBody()
        {
            // Row 0, and image
            display.WriteImageDisplayBuf(DisplayImages.Connected, 0, 0);

            // Row 1 - 3
            display.WriteLineDisplayBuf("Hello", 0, 1);
            display.WriteLineDisplayBuf("World", 0, 2);
        }
3. Running the Program
The result is like this
JRoger
好大的一个 Hello World !
许志斌
真是找到组织了。支持你啊。求交朋友
Leonard
Nice!
Qin
Win10 IoT还是挺好玩的,写过个用Win2D画图,支持SPI和I2C的SSD1306库,欢迎交流:) https://github.com/q-life/Q.IoT/tree/master/Devices.Display/Display/SSD1603
mike fattori
Great post and great job. Works beautifully!