Windows 10 Fall Creators Update (Build 16299) added acrylic brush, this is a UI brush that similar to Windows 7 Aero effect.
A lot in box Windows Apps, such as Calculator are updated with the acrylic brush. However, the built in brushes will not always meet our own requirments. Especially when Windows automatically disable render of acrylic, such as low power mode, or with an inactive window, it will make our App look very ugly.
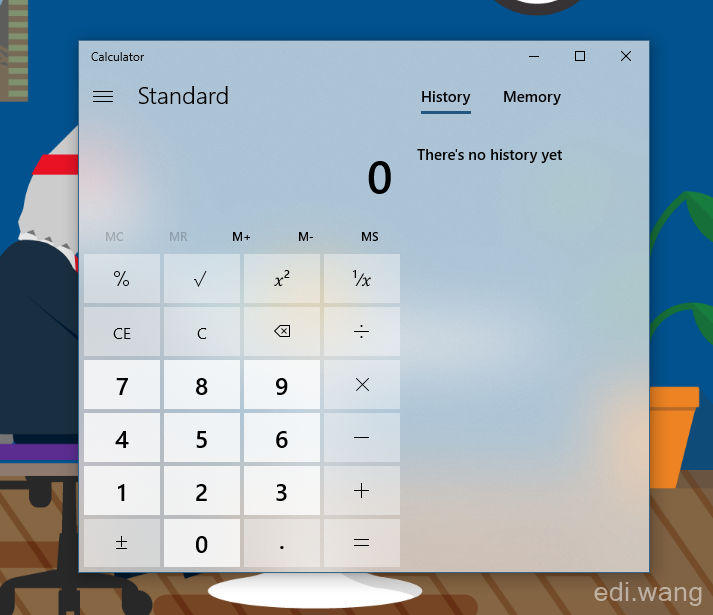
For example, this is where normal arcylic will look like:
This is how it looks when the window is inactive:
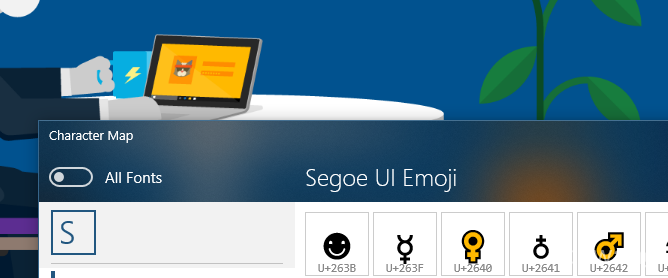
In this kind of scenario, we will have to build a customize arcylic brush, and set fall back color. As I did with my "Character Map UWP" App, it is one good example.
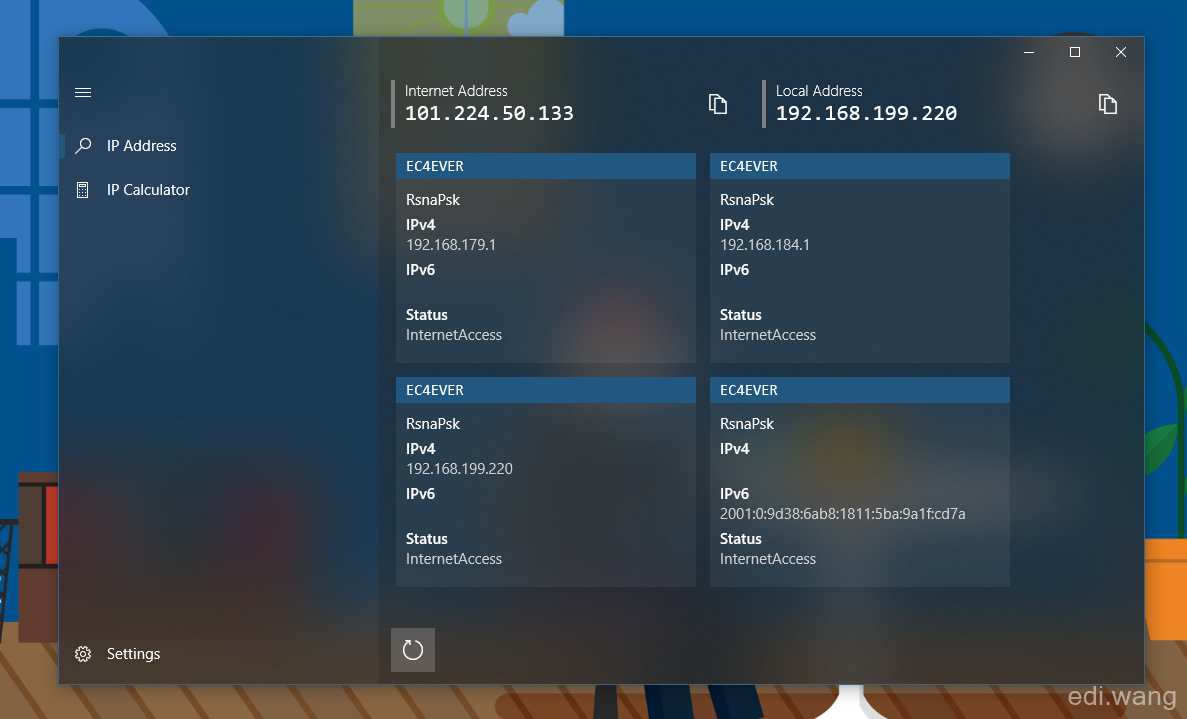
Showing customized black acrylic in normal modes:
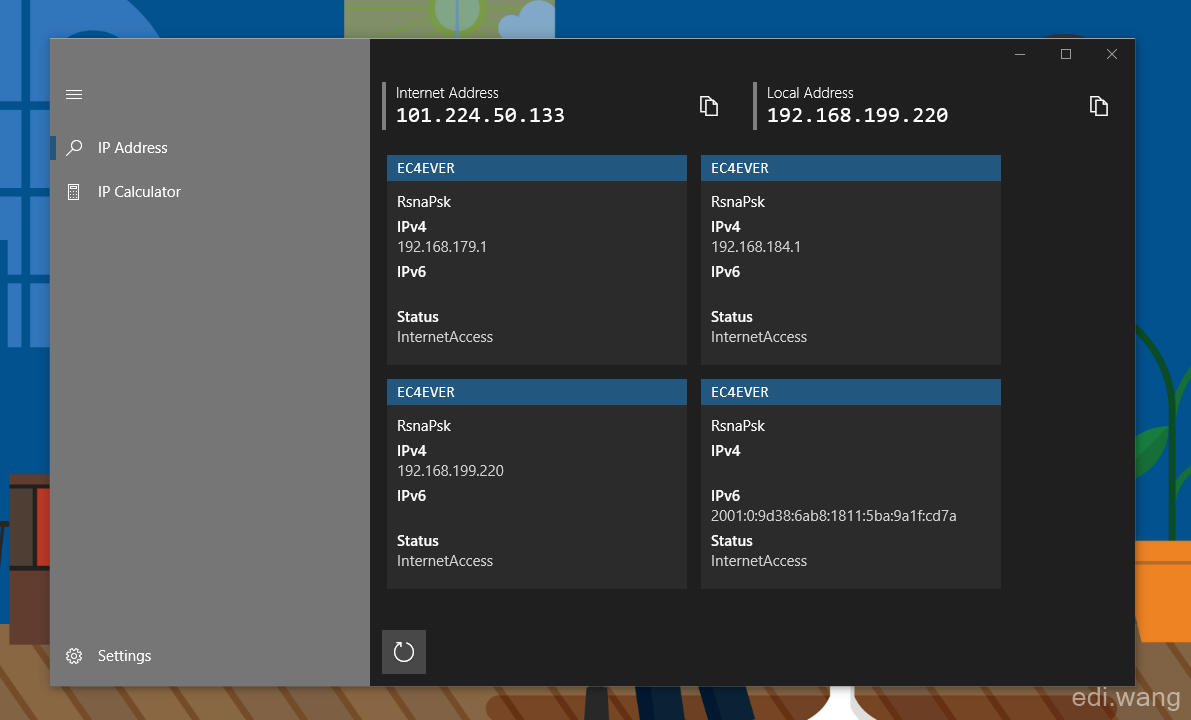
When App goes full screen or inactive, show the system accent color:

It is done by creating a customized AcrylicBrush. Add this code in your XAML resource:
<AcrylicBrush x:Key="CMapUwpAcrylicBrush"
              BackgroundSource="HostBackdrop"
              TintColor="Black"
              TintOpacity="0.4"
              FallbackColor="{StaticResource SystemAccentColor}"/>
In this example, TintColor is for the normal acrylic color you want, I set it to black. TintOpacity stands for opactiy 0.4 means 40%. FallbackColor is the color when acrylic is not able to render, which I use system accent color.
The complete XAML resource file is:
<ResourceDictionary
    xmlns="http://schemas.microsoft.com/winfx/2006/xaml/presentation"
    xmlns:x="http://schemas.microsoft.com/winfx/2006/xaml">
    <ResourceDictionary.ThemeDictionaries>
        <ResourceDictionary x:Key="Default">
            <AcrylicBrush x:Key="CMapUwpAcrylicBrush"
                          BackgroundSource="HostBackdrop"
                          TintColor="Black"
                          TintOpacity="0.4"
                          FallbackColor="{StaticResource SystemAccentColor}"/>
        </ResourceDictionary>

        <ResourceDictionary x:Key="HighContrast">
            <SolidColorBrush x:Key="CMapUwpAcrylicBrush"
                             Color="{ThemeResource SystemColorWindowColor}"/>
        </ResourceDictionary>

        <ResourceDictionary x:Key="Light">
            <AcrylicBrush x:Key="CMapUwpAcrylicBrush"
                          BackgroundSource="HostBackdrop"
                          TintColor="Black"
                          TintOpacity="0.4"
                          FallbackColor="{StaticResource SystemAccentColor}"/>
        </ResourceDictionary>
    </ResourceDictionary.ThemeDictionaries>
</ResourceDictionary>
And then you will be able to use this acrylic brush wherever you need:
<Grid Background="{ThemeResource CMapUwpAcrylicBrush}">
林德熙
又广告了你的博客 https://stackoverflow.com/questions/54890831/how-to-set-the-background-using-acrylic-brush-through-c-sharp-in-uwp
lindexi
I find a good blog comment tool utteranc that use github issues.
我发现一个用 github 的 issues 做的评论工具不错,推荐使用(翻译只是因为我的英文我自己都读不懂)