Pre-requests
CS:GO is a popular FPS game that has been around for over 10 years. This article will show you how to set up CS:GO dedicated server on Azure using a Windows VM and Storage Account. The server will be able to let clients download custom maps from the Storage Account with FastDL.
You must have:
- An Azure Subscription for
- Virtual Machine
- Storage Account
- Steam Account
- With your mobile phone number added
- csgosl tool
Steps
1. Create VM
First, create a virtual machine.
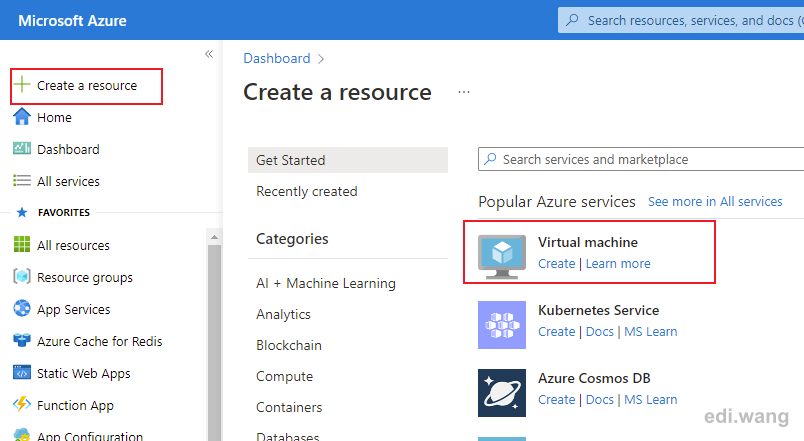
Go to Azure portal, click "Create a resource" and search for Virtual machine.
I'll be using Windows Server 2022 Datacenter Azure Edition Gen2 with D2s_V3 SKU. The virtual machine size depends on your server's workload. If you have 7x24 game players on your server, you'll use D or F series VMs.
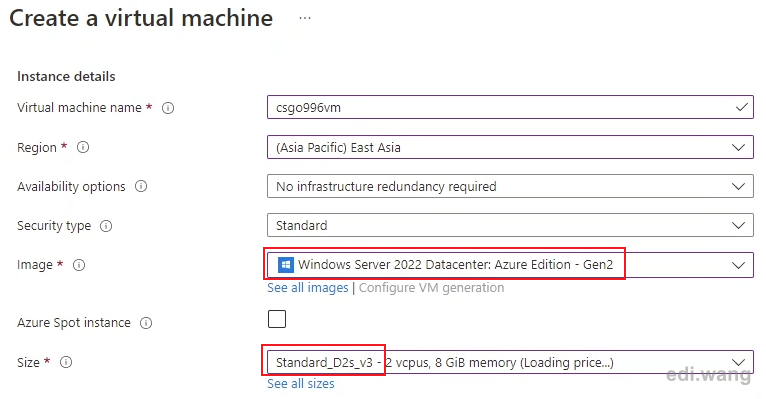
After the VM is created, go to "Networking" tab and add 27015,27016,27017 to the NSG inbound port rules. These are the ports CSGO is using.

Optionally, you can set a custom DNS name or bind your own domain name to your VM, so that game players won't have to remember your IP address.
2. Create Storage Account
Next, we will create a Storage Account, which is for hosting your custom maps or other resources that client will need to download. CS:GO server recommend using FastDL that enables a client to download resources from a web server because the game server has download speed limitation. Therefore, we'll be using a Storage Account with a static website enabled. It is the most cost effect method for hosting static files as web server on Azure.
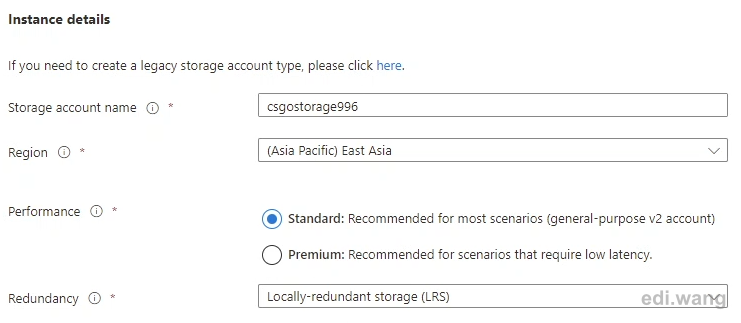
In Azure portal, click "Create a resource" and search for "Storage Account", create a storage account as you like. I'll be using LRS to save money because a game server backup isn't important to me.
After the Storage Account is created. Go to "Static website" tab and enable the Static website feature. Please copy the Primary endpoint URL. This will be used to configure FastDL in CS:GO server.
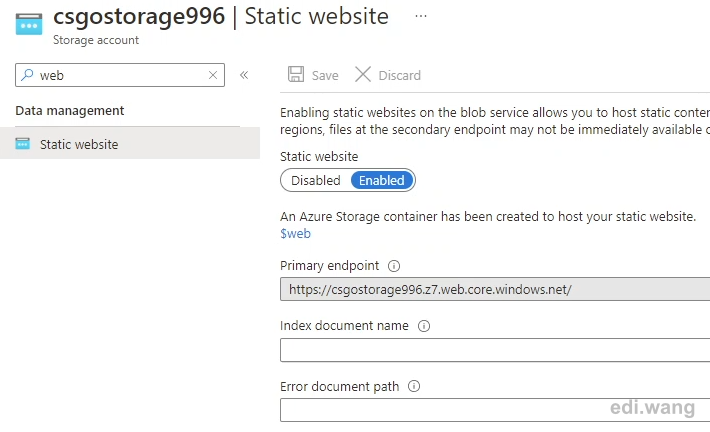
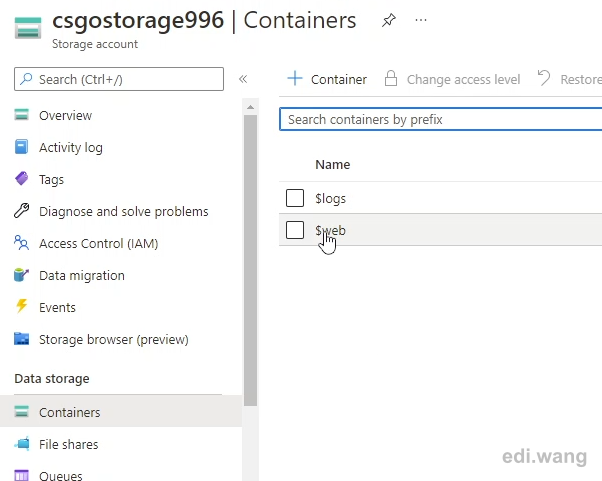
At this time, Azure will create a new container named "$web" in the Storage Account, which we will be using to upload CS:GO maps or any other game resources that client will have to download.
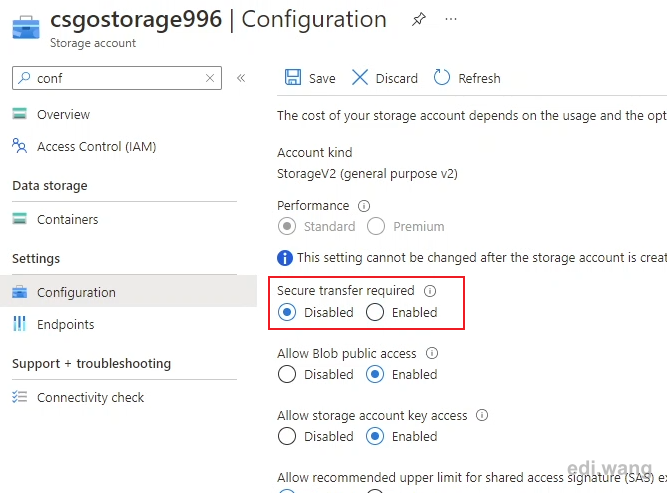
I also turned off HTTPs requirement for the static web server for more fast download. This won't turn of port 443, it is just allowing access from port 80. This is up to you.
3. Install csgosl
Now, RDP into your VM.
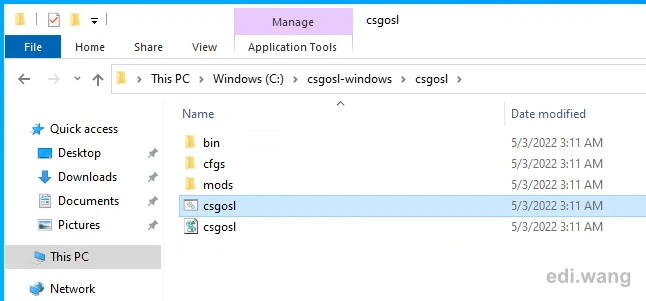
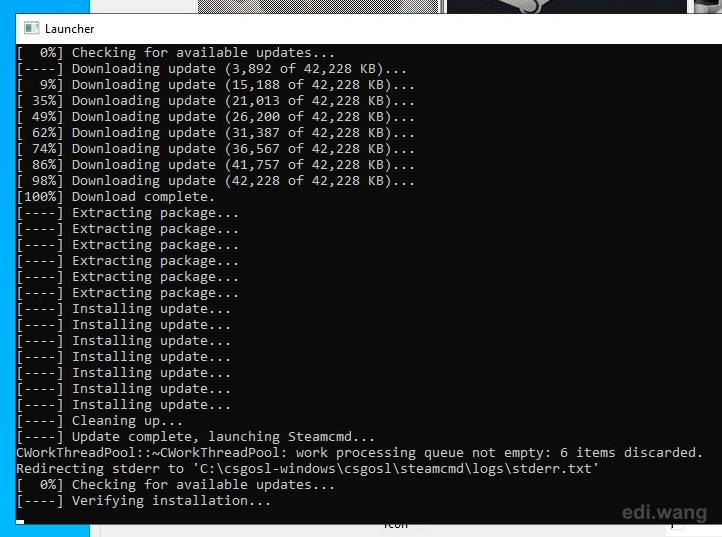
Download csgosl from https://github.com/lenosisnickerboa/csgosl and extract it into your desired location, like "C:\csgosl-windows\csgosl".
Run csgosl batch file.
Click "Install server".
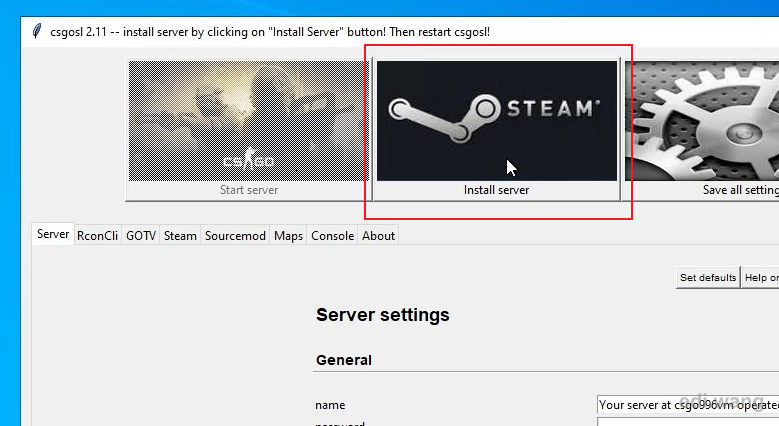
It will take around 30 minutes to download CS:GO server files.
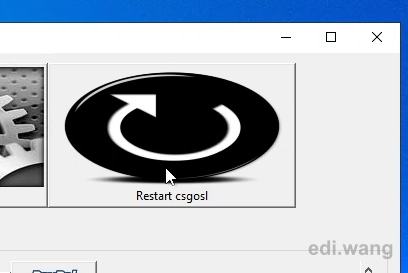
When the download is completed, click "Restart csgosl".
4. Configure CS:GO server
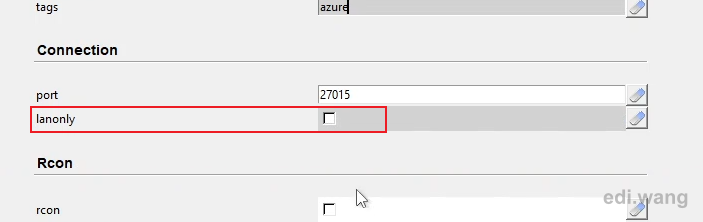
In csgosl. Uncheck "lanonly" checkbox to enable public internet access.
Check "fastdl" to enable FastDL. Use the Primary Endpoint URL from step 2. If you have HTTPS turned off, you can also use http instead of https in the URL.

You may have to add "+sv_allowdownload 1 +sv_allowupload 1" in Misc options.

In Steam settings. Enter your steamusername, steamid and gameserverlogintoken
The steamid is for you to manage Sourcemod plugin in game. If you don't use Sourcemod, you can leave it blank.
You can get the token from https://steamcommunity.com/dev/managegameservers

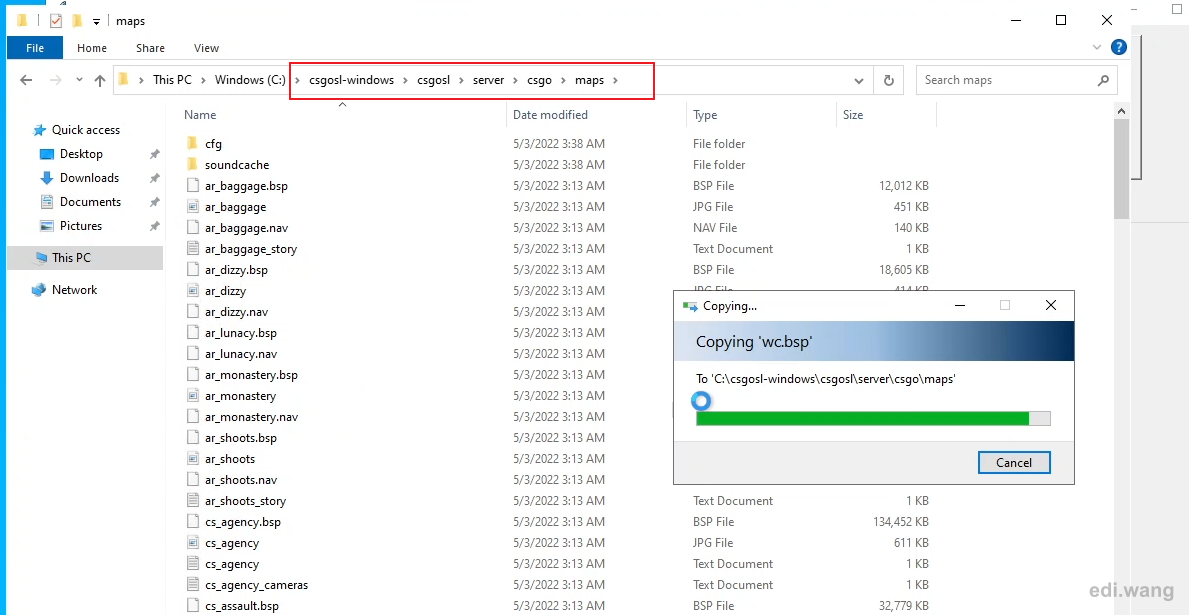
Copy your custom maps to your server location, in my case it's "C:\csgosl-windows\csgosl\server\csgo\maps".
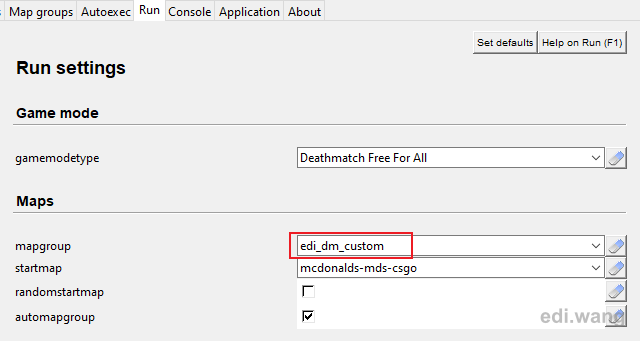
Now, you can create Map groups to rotate your custom maps.
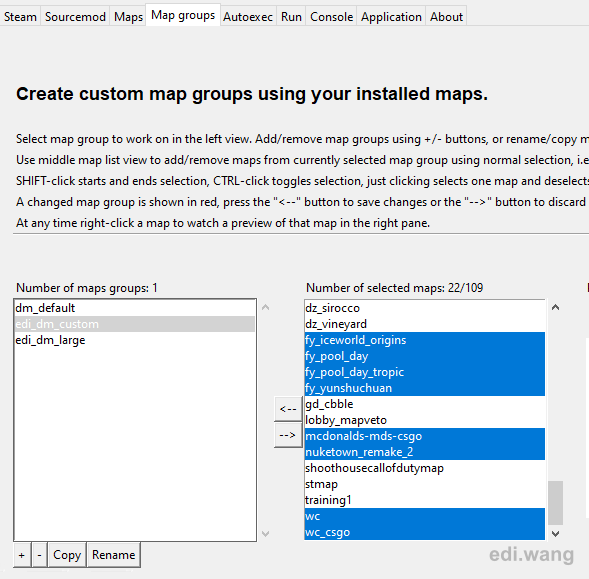
The map group is used in Run settings.
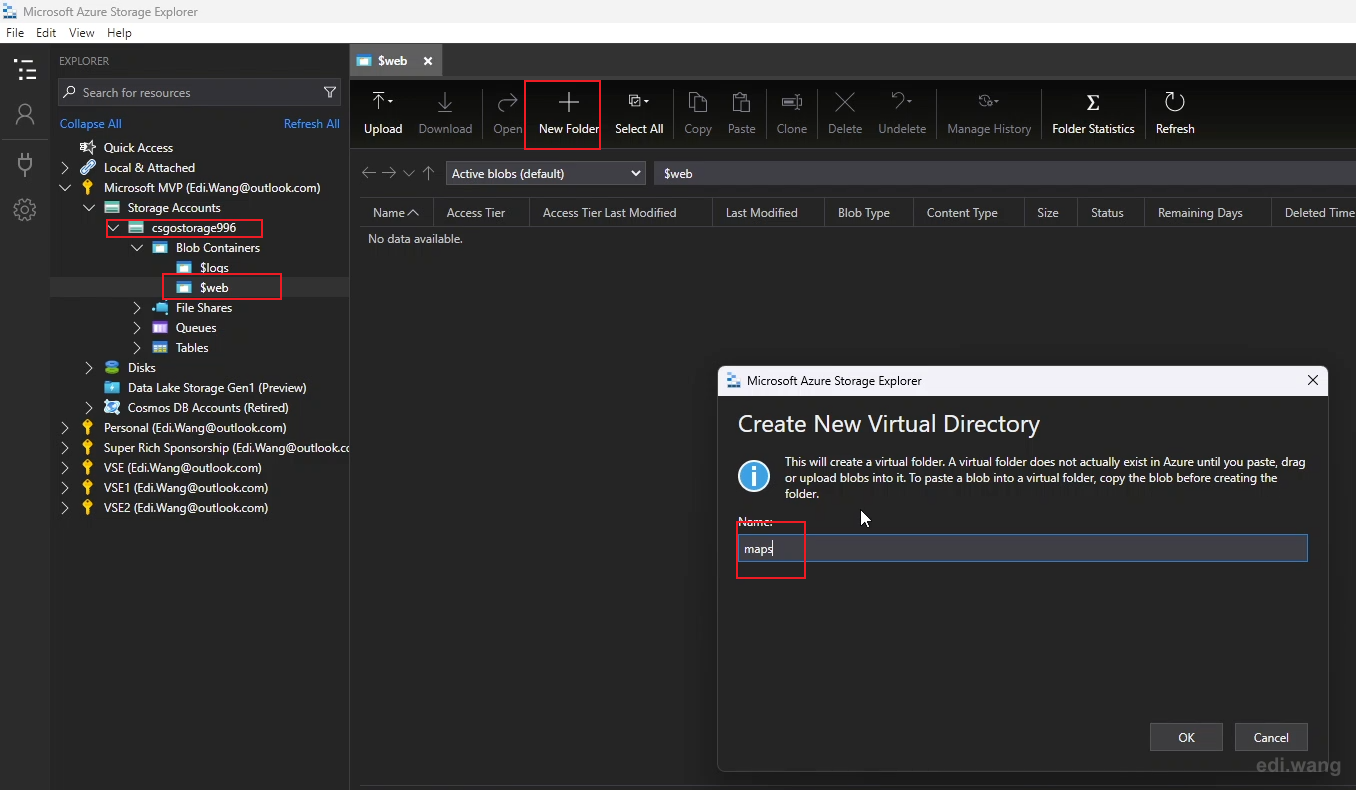
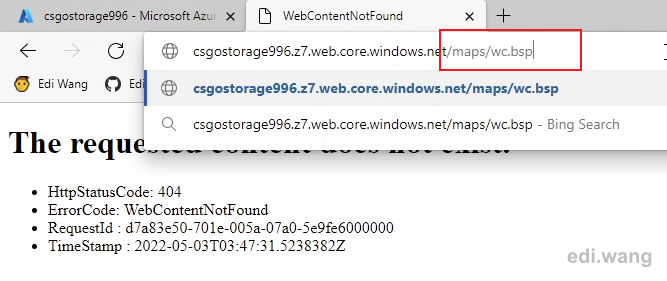
Now, we will need to copy custom maps to Azure Storage Account for client to download. Use Azure Storage Explorer to navigate to the $web container, create a new folder named "maps".
Upload your maps to this folder.
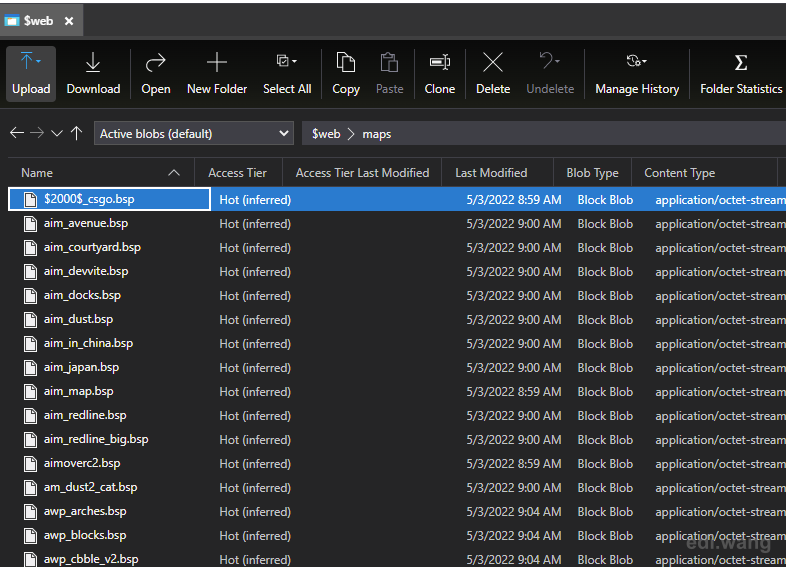
You can use your browser to test if your maps can be downloaded from HTTP.
If everything is OK. Click "Start server" in csgosl.
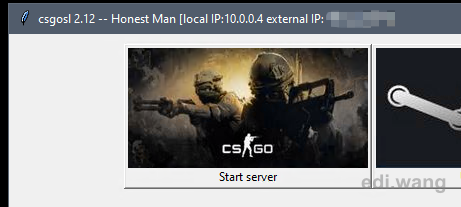
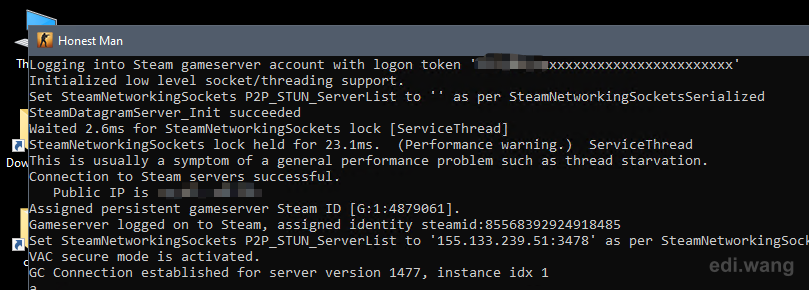
It will launch CS:GO server console. Wait until you see steam token login is success and your public IP address is shown.
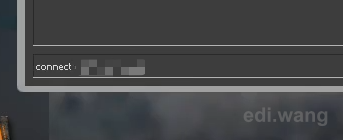
5. Test your server
Run CS:GO game on client machine.
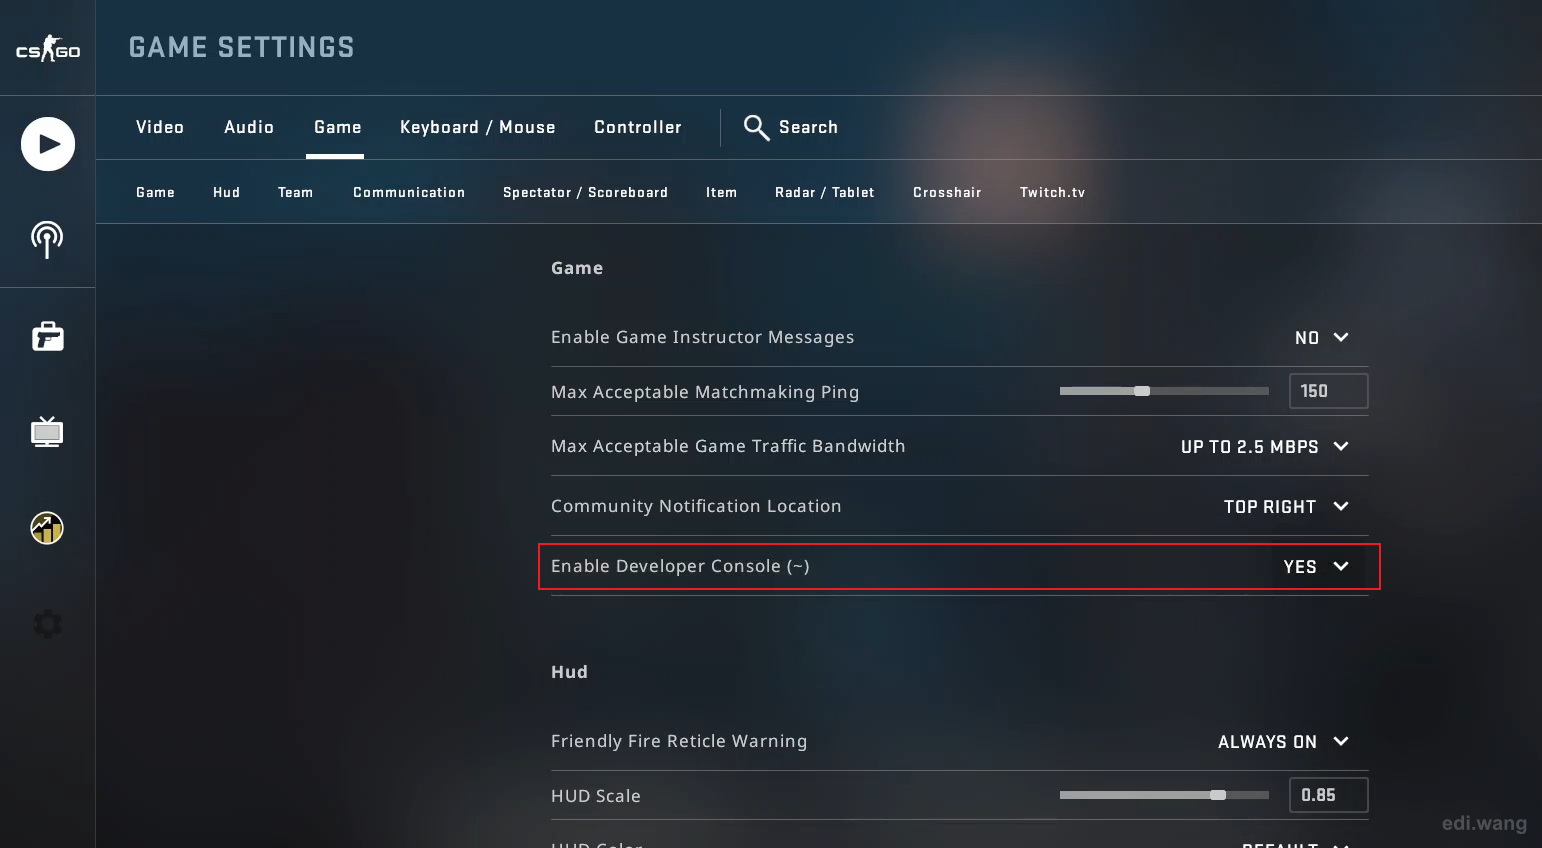
Set Enable Developer Console to yes.
Enter "connect xxx.xxx.xxx.xxx" which xxx.xxx.xxx.xxx is your server's public IP address or domain name.
If everything is good, you will now be able to download custom map and enter game.
Reference: https://developer.valvesoftware.com/wiki/Counter-Strike:_Global_Offensive_Dedicated_Servers
Comments