Background
A couple of months ago, I wrote a blog post of "Deploy ChatGPT Next Web to Azure App Service with Individual Account Login in 3 minutes". In this blog post, I will share a new approach to deploy ChatGPT Next Web besides App Service, which is to use Azure Container Apps.
Before getting started, let's review the background and goal for doing this task.
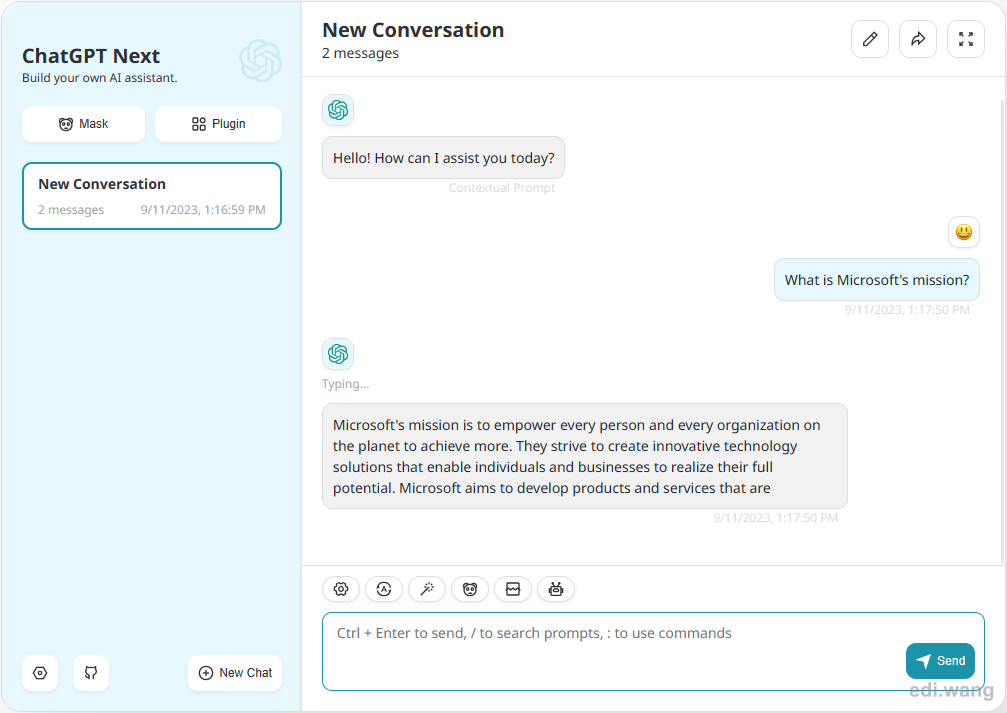
ChatGPT Next Web is a widely used ChatGPT web UI project that enables you to deploy a website to your own server using only your Open API key. This allows you to enjoy the same chat experience without having to visit the official Open AI website, which is particularly useful when dealing with network or regional restrictions.
However, the official repository of ChatGPT Next Web does not offer a one-click installation for Azure, and the developer has no plans to add a built-in login feature to restrict access to the website. To address these issues, my goal is to:
- Deploy ChatGPT Next Web to Azure without the need to create a VM.
- Add access control that requires individual accounts to log in to use ChatGPT, without making any changes to the code.
My objective is to complete these tasks within three minutes. Let's explore how this can be achieved.
Create Azure Container Apps
The official ChatGPT Next Web provides a Docker image. This is how I can run it on Azure without VM. Azure has many PaaS ways to deploy Docker containers:
- Azure App Service
- Azure Container Instance
- Azure Container Apps
- AKS
I choose Azure Container Apps this time because it also has built in Authentication features that I will use in the next step.
Azure Container Apps is a fully managed environment that enables you to run microservices and containerized applications on a serverless platform. Common uses of Azure Container Apps include:
- Deploying API endpoints
- Hosting background processing jobs
- Handling event-driven processing
- Running microservices
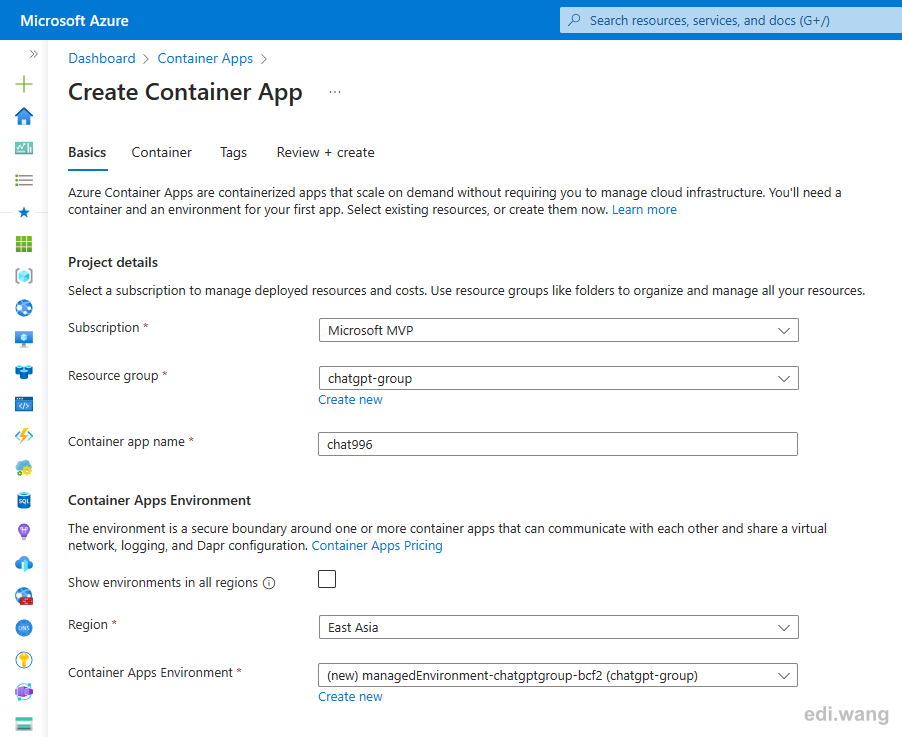
Go to Azure Portal, create a new Container App.
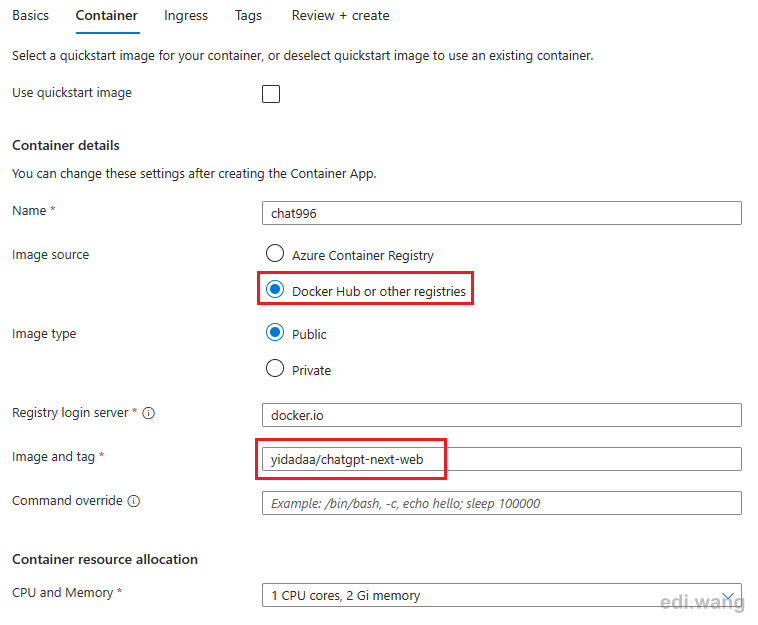
In the Container tab, uncheck "Use quickstart image" and select "Docker Hub or other registries", enter yidadaa/chatgpt-next-web in "Image and tag".
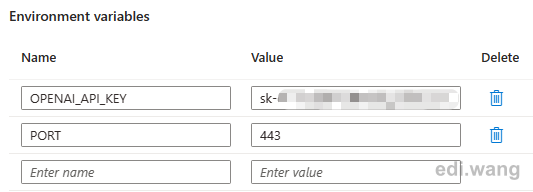
We need to configure two environment variables for the Docker container before running the application.
- OPENAI_API_KEY: Use your own key bought from Open API official website, usually start with "sk-"
- PORT: 443
Next, go to "Ingress" tab. Enable the Ingress option, and set to Accepting traffic from anywhere, set port to 443. Finish creating the Container App.

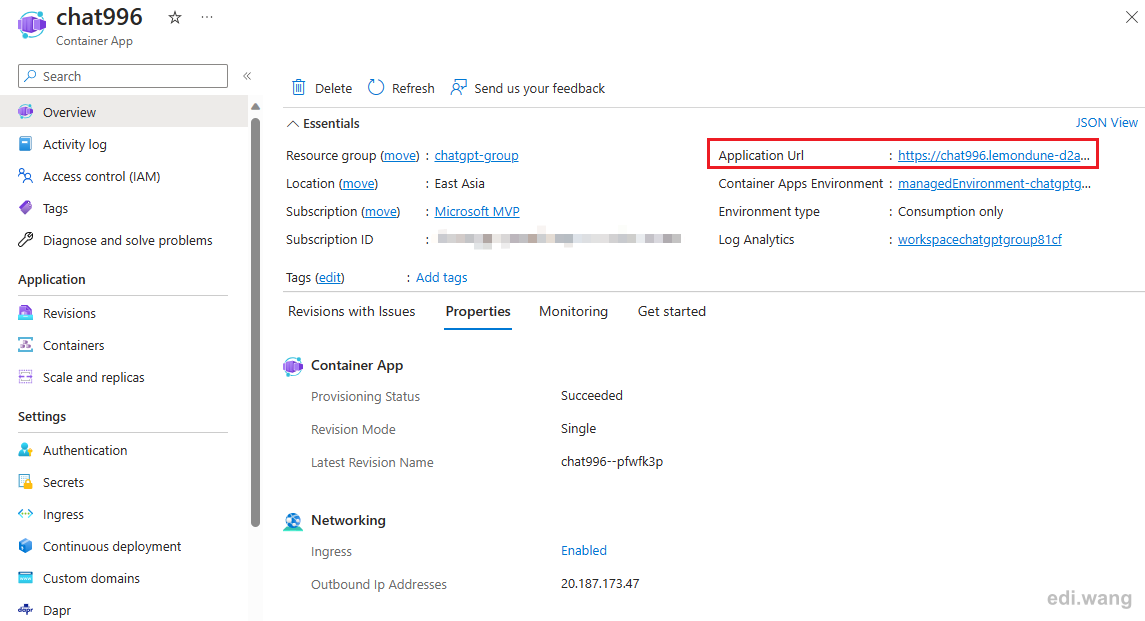
By now, your ChatGPT web UI is ready to run. You can access the page by default domain or bind your custom domain.
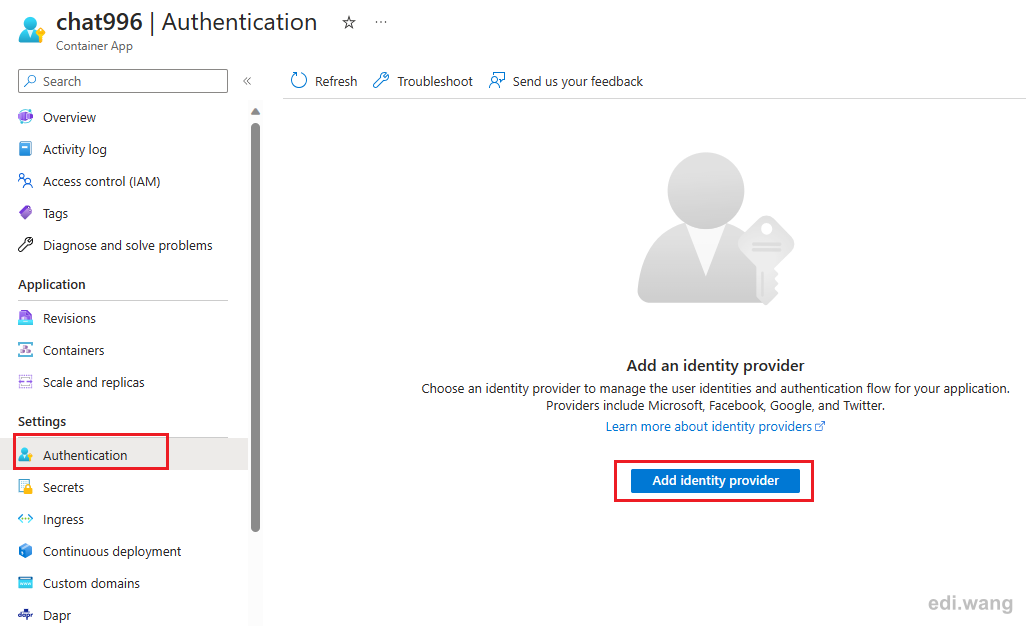
Enable Authentication
By default, your website is publicly accessible from anywhere on the Internet. This can blow up your credit card. We need to enable authentication that asks users to login before using the application.
Although the original ChatGPT Next Web project did not have such features, it is extremely easy to add login providers on Azure without writing any code.
Go to Authentication blade, click "Add identity provider"
You can add any of the listed providers. I am using Microsoft for example.
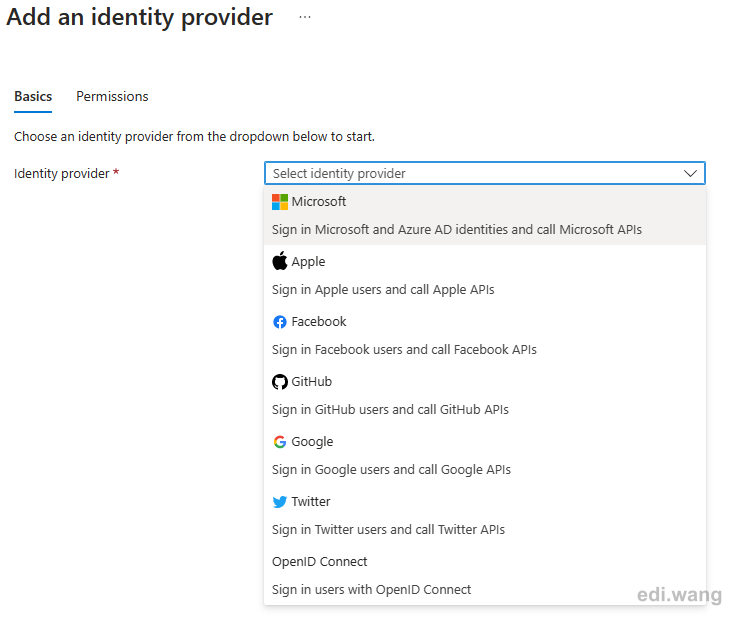
For Microsoft provider, by default, all accounts in the given Azure AD will have access. To limit accounts to only selected people, see my previous blog post How to Allow Only Selected Users to Access an Application in Azure AD
After completing this step. Users will be asked to login before opening ChatGPT web UI.
Conclusion
Azure Container Apps is a wonderful PaaS service. It can run Docker based applications and add individual account login flow to the application without modifying code. All steps are just a few mouse clicks that can be finished in a few minutes.
Comments