
Problem
When configuring a new Azure Virtual Machine (VM), you'll notice that it isn't allocated a public IPv6 address automatically. By default, only an IPv4 address is assigned. In this guide, we'll walk you through the process of manually adding a public IPv6 address to your Azure VM, ensuring your setup is future-proof and ready to handle the latest internet protocol requirements.
Solution
Add IPv6 Address Space
Go to the virtual network that is associated with your VM. Go to "Address space" blade, add a new address space as this:
ace:ceb:deca::/48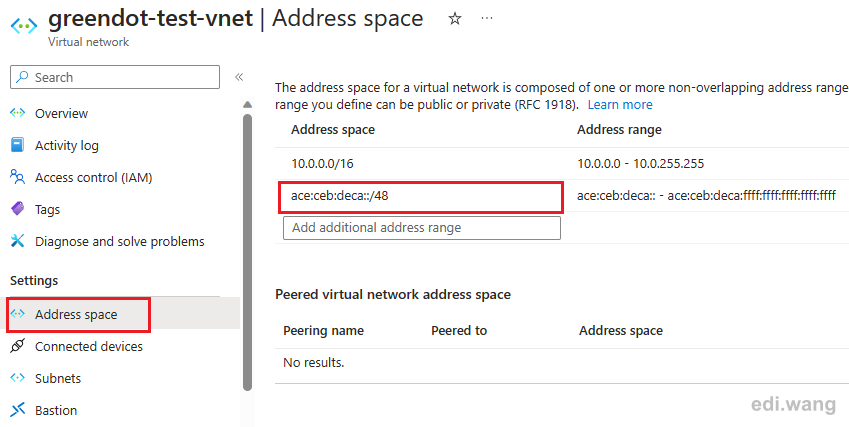
Add IPv6 Subnet
Go to "Subnets" blade, add a new subnet for IPv6, example:
- name:
default-ipv6 - Subnet address range:
10.0.1.0/24 - Check: Add IPv6 address space
- IPv6 address space:
ace:ceb:deca:deed::/64

Create New Network Interface
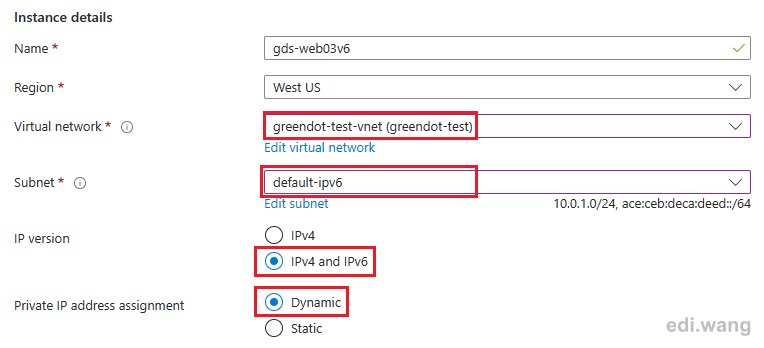
Create a new network interface in the same resource group and region as your VM. Select the virtual network in previous step, which is used by your VM. Select the "default-ipv6" subnet we created before. Select IPv4 and IPv6, and Dynamic assignment.
Create Public IPv6 address
Create a new Public IP address in the same resource group and region as your VM. Select IPv6 as IP Version.

Bind Public IPv6 to the new Network Interface
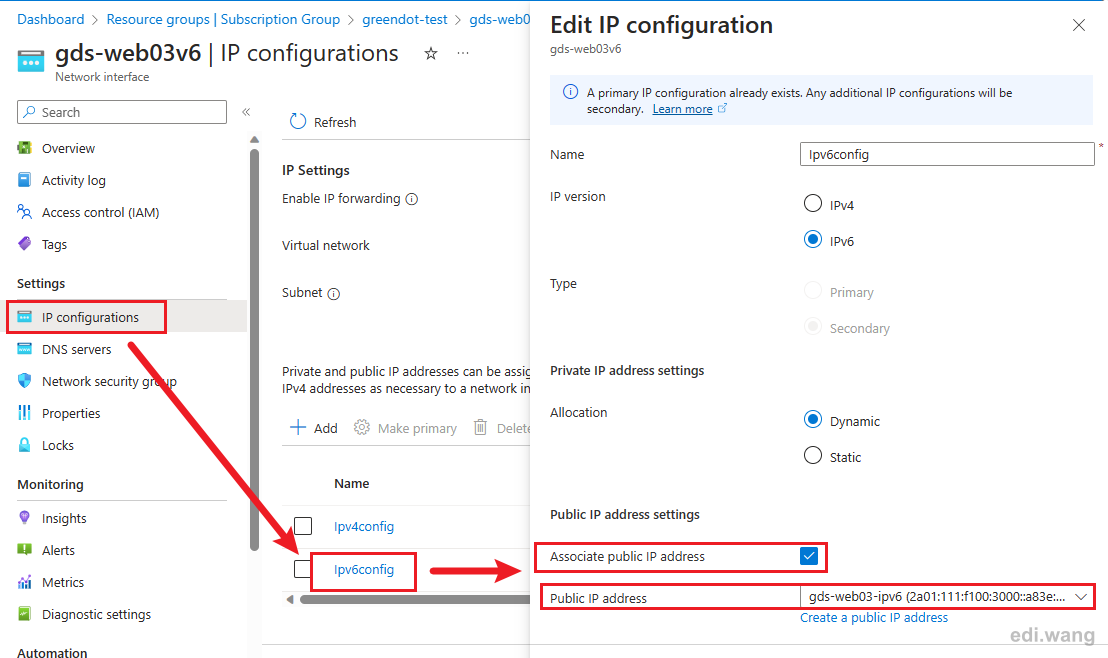
Go back to the network interface we created before. Go to "IP configurations" blade, click "Ipv6config".
Select "Associate public IP address" and assign the Public IPv6 address we created in previous step.
Unbind IPv4 on Old Network Interface
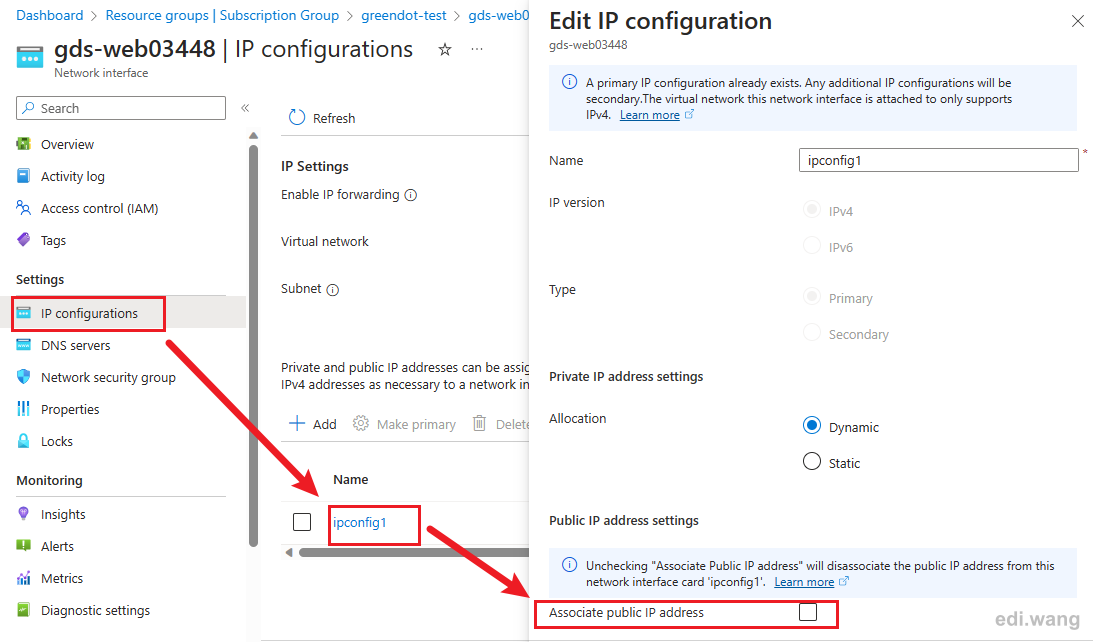
Go to the old network interface for your VM, under IP configurations blade, uncheck the public IP address checkbox, this will unbind the existing public IPv4 address.
Rebind IPv4 to the new Network Interface
Go to the new network interface once again and bind your existing public IPv4 address to the Ipv4config, steps are same as previous.
Please be notice, if your old IPv4 address is Basic SKU, you won't be able to rebind here. You can create a new public IPv4 address with Standard SKU, but this will change your old IPv4 address.
When you are done, you should see two public IP address, one for V4, one for V6 here.

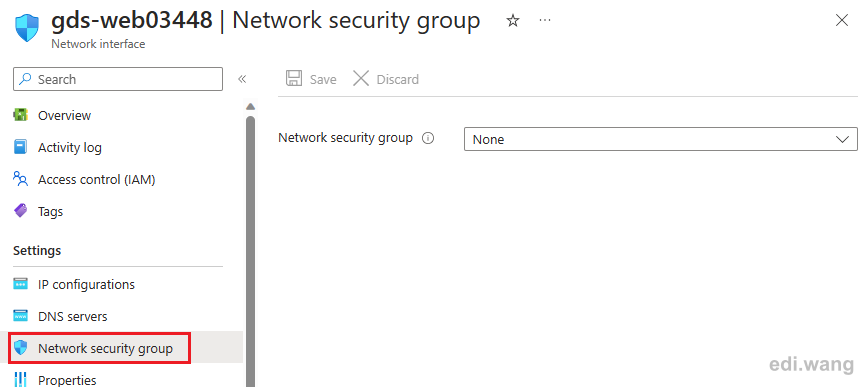
Migrate Network Security Group
If your VM has an existing NSG, which in most case you do. Please remove it in the old network interface and add it into the new network interface.
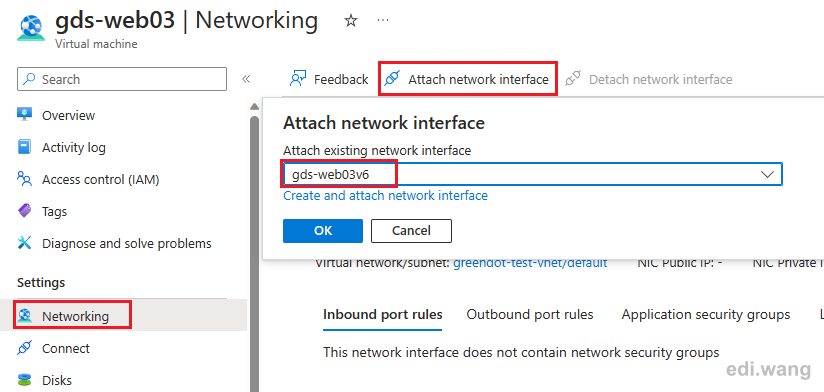
Attach the new Network Interface to your VM
Go to Networking blade for your VM, click "Attach network interface". Select the new Network Interface we configured before.
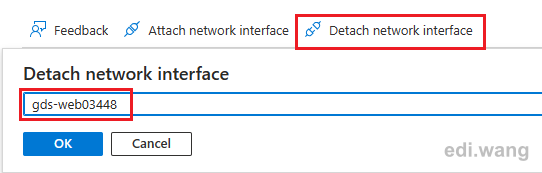
Then detach the old Network Interface.
When you are done, you should see only the new Network Interface, with NSG configured like this:

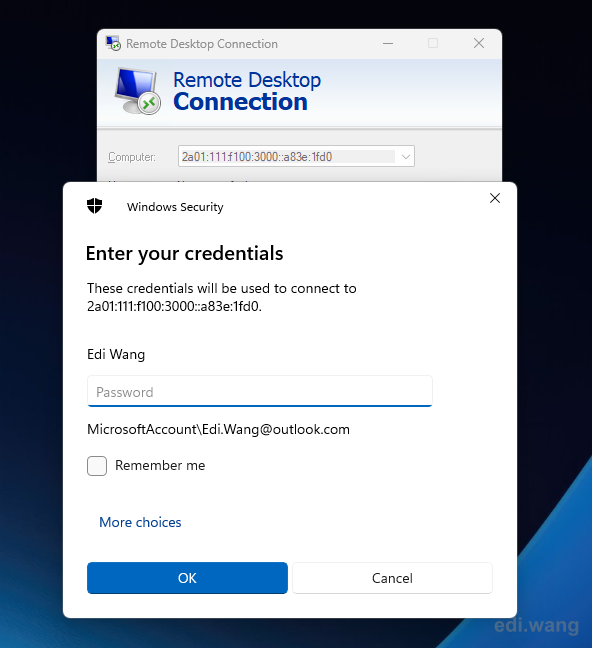
Test Your Connection
Now, you can use both IPv4 and IPv6 to connect to your VM. You can find the public IPv6 address on the Overview blade for your VM.
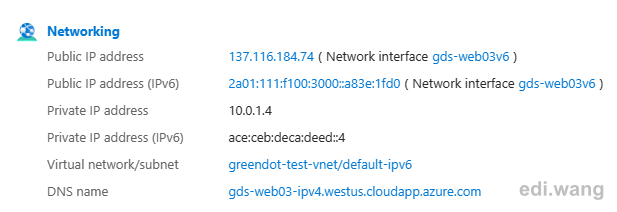
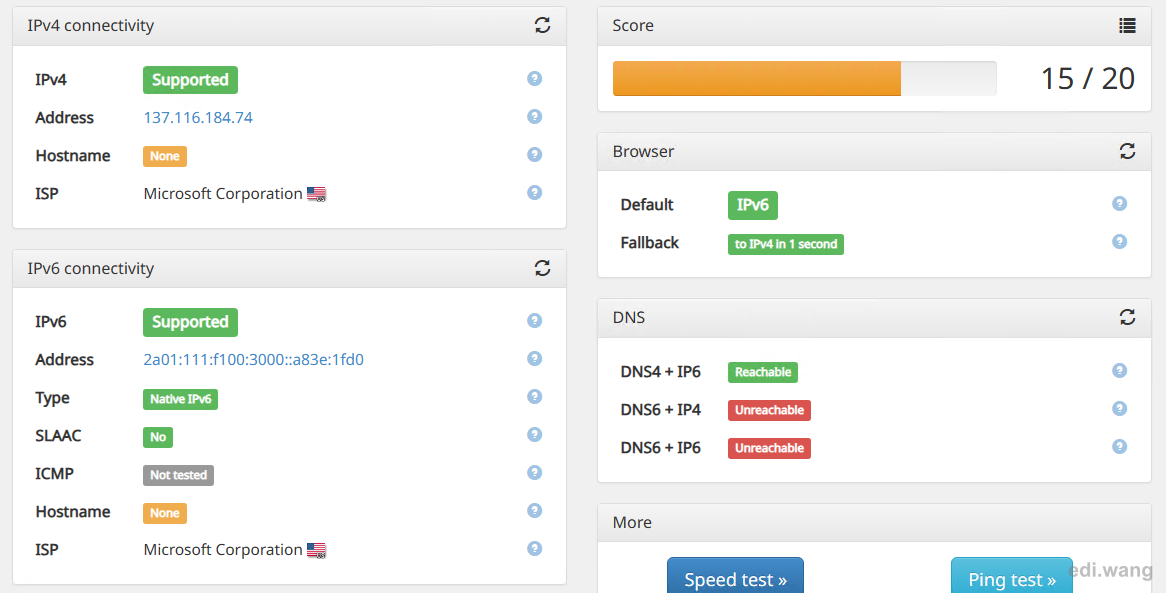
On your VM, you can visit https://ipv6-test.com/ to see how the IPv6 perform. It even identifies the IPv6 address as native IPv6!
Clean Up Old Resources
Finally, you can delete your old Network Interface, your old public IPv4 (if you created a new Standard SKU IPv4), to save money.
certuna
ace:ceb:deca::/48 is not a valid address within the global unicast range (2000::/3) so maybe better use the standard example range 2001:db8::/32 (see RFC 3849) in these screenshots
Joakim
As certuna said, that IPv6 address space should not be used in a guide like this. Furthermore you are supposed to use a private IPv6-range in the fd00::/8 space for your Azure internal network. Ie fdxx:xxxx:xxxx::/48 where the 40 bits (xx:xxxx:xxxx) should preferably be randomized, not selected manually.